I think most people are familiar with the kimono. The design looks rather simple: a long straight robe with flowing sleeves, a wide flat belt.
But if you want to wear kimono, you will hear phrases such as, “Oh, do you have someone to help you get dressed?” Well I am an adult, surely I can dress myself…? Possibly. There exist such things as pre-tied obi (the wide fabric belt) made especially for people who don’t have someone to help them tie it. But for the real thing you need a real dressing assistant!
Last weekend I got to experience “being dressed” by a certified kimono dresser. She studied for 4 years. When I asked why she became a kimono dresser she answered, “Because I love kimono.” Good answer!
You might think this type of job wouldn’t keep a person very busy, but there are all sorts of occasions that people wear kimono in Japan. She said she works sometimes at children’s photography studios (which look a bit like a dress-up shop with racks and racks of colourful kimono for children to wear for the photos).
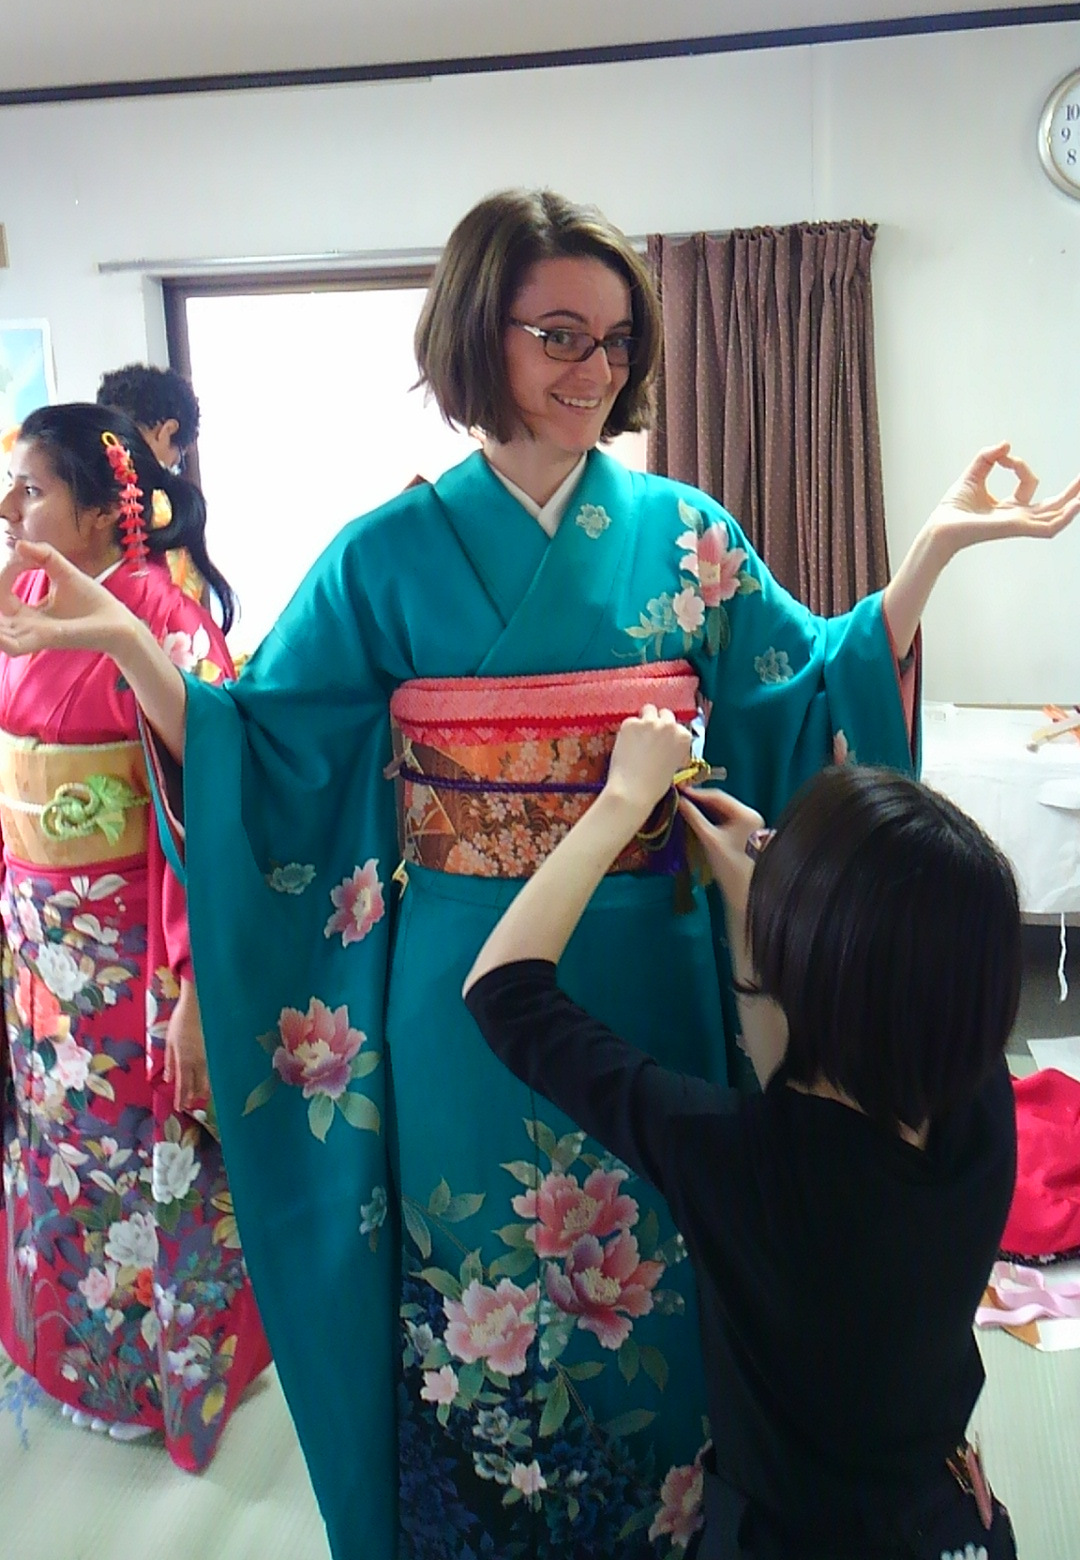
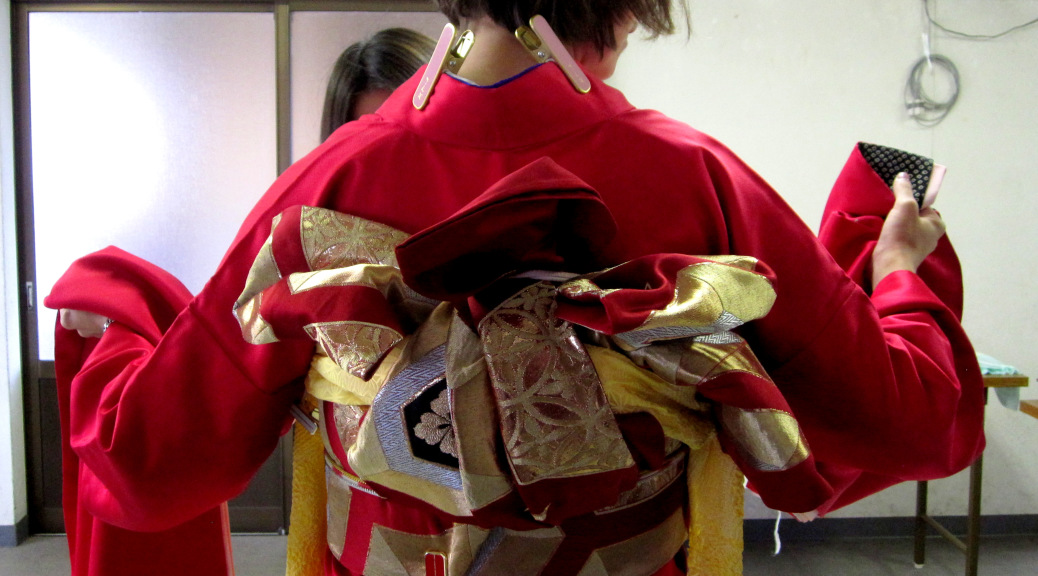
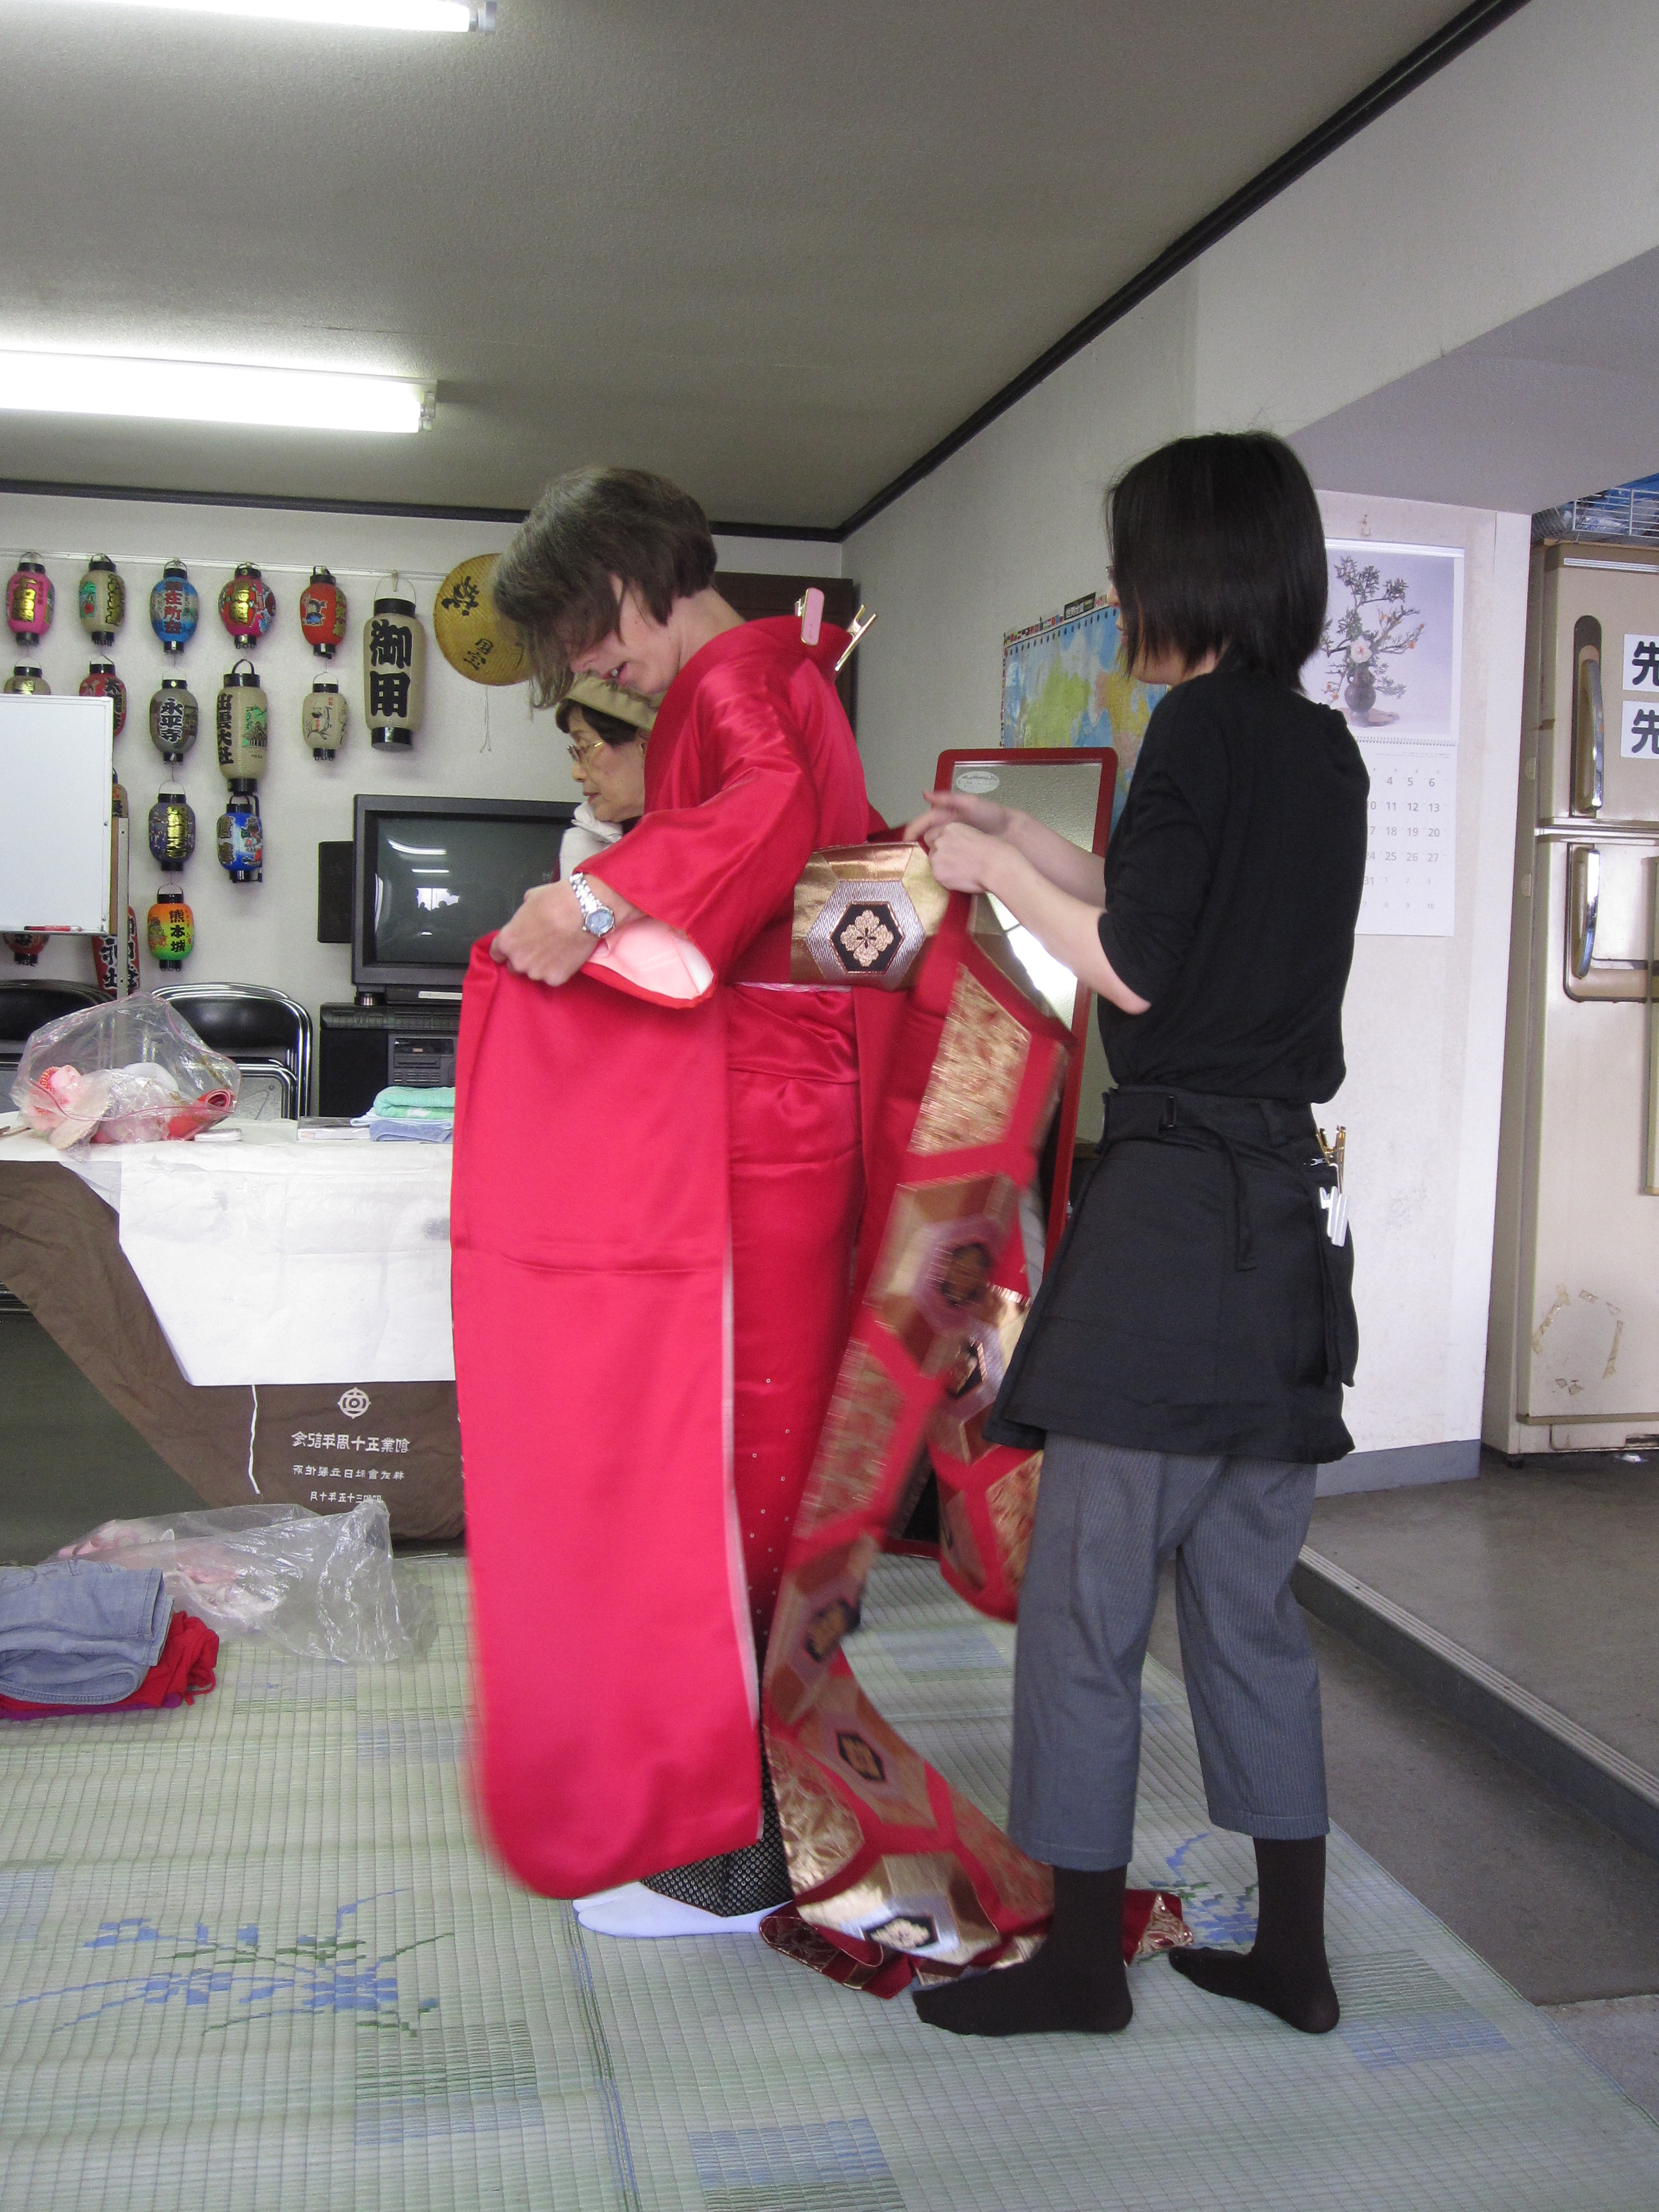
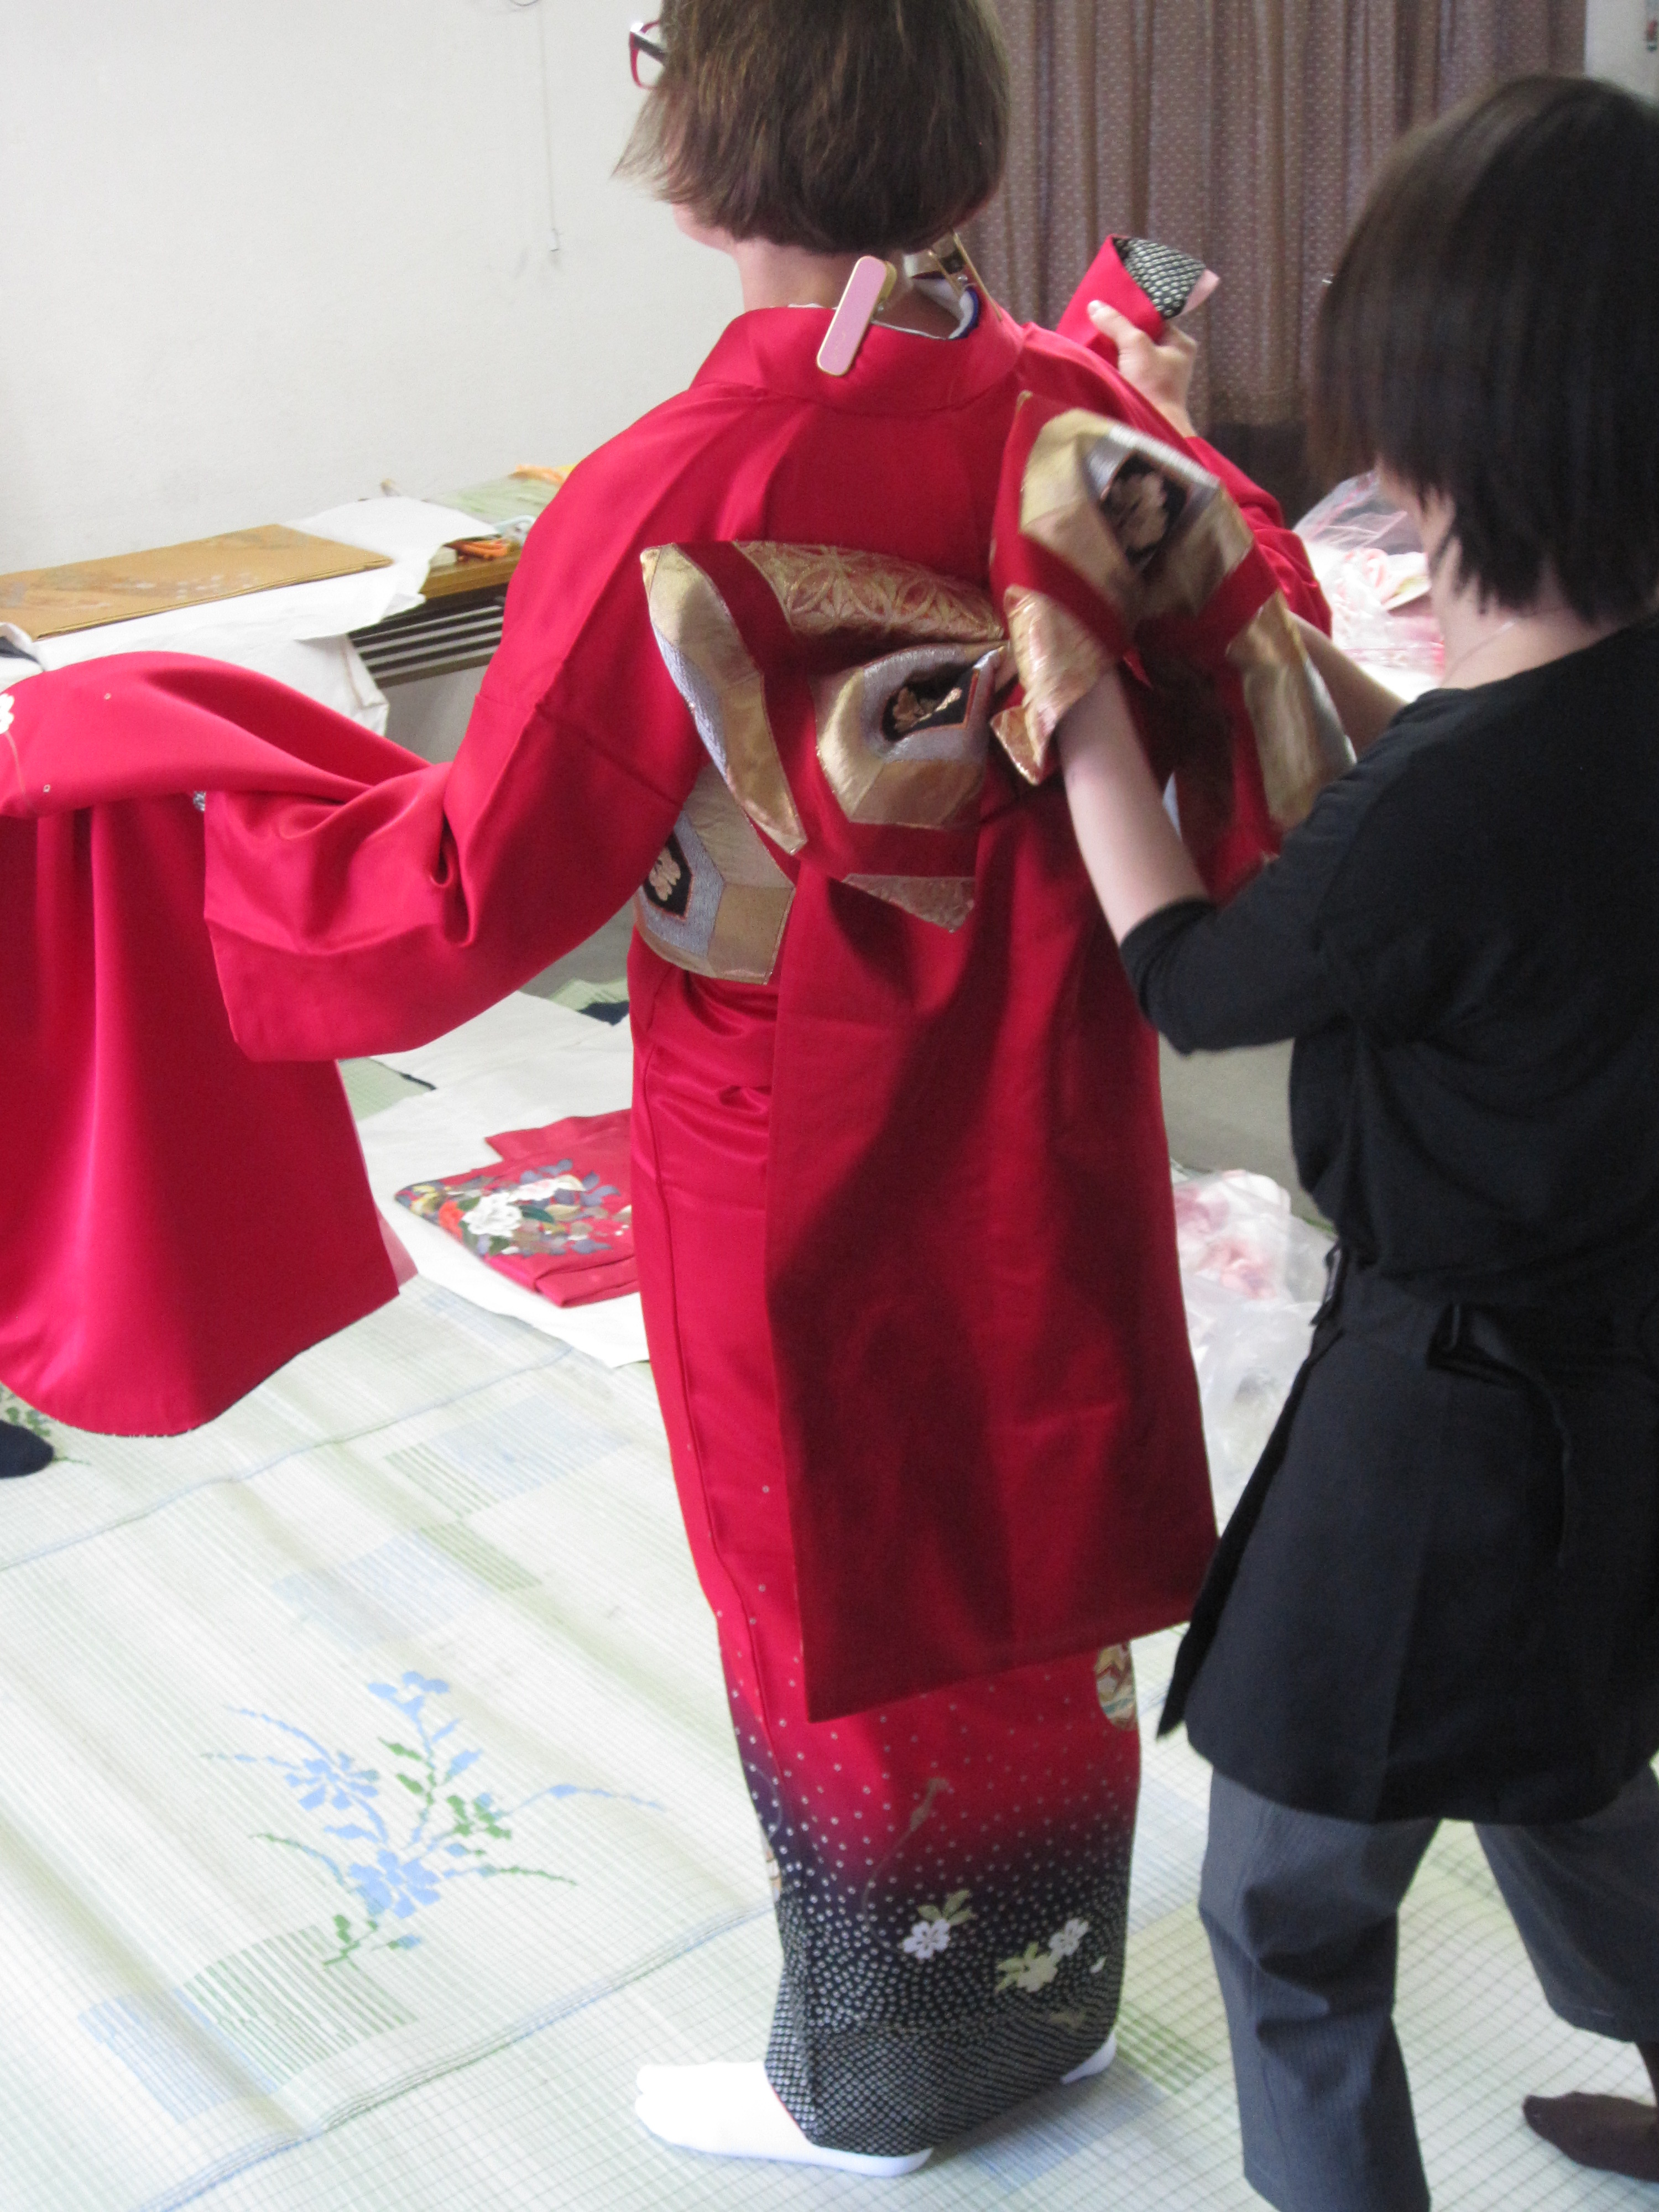
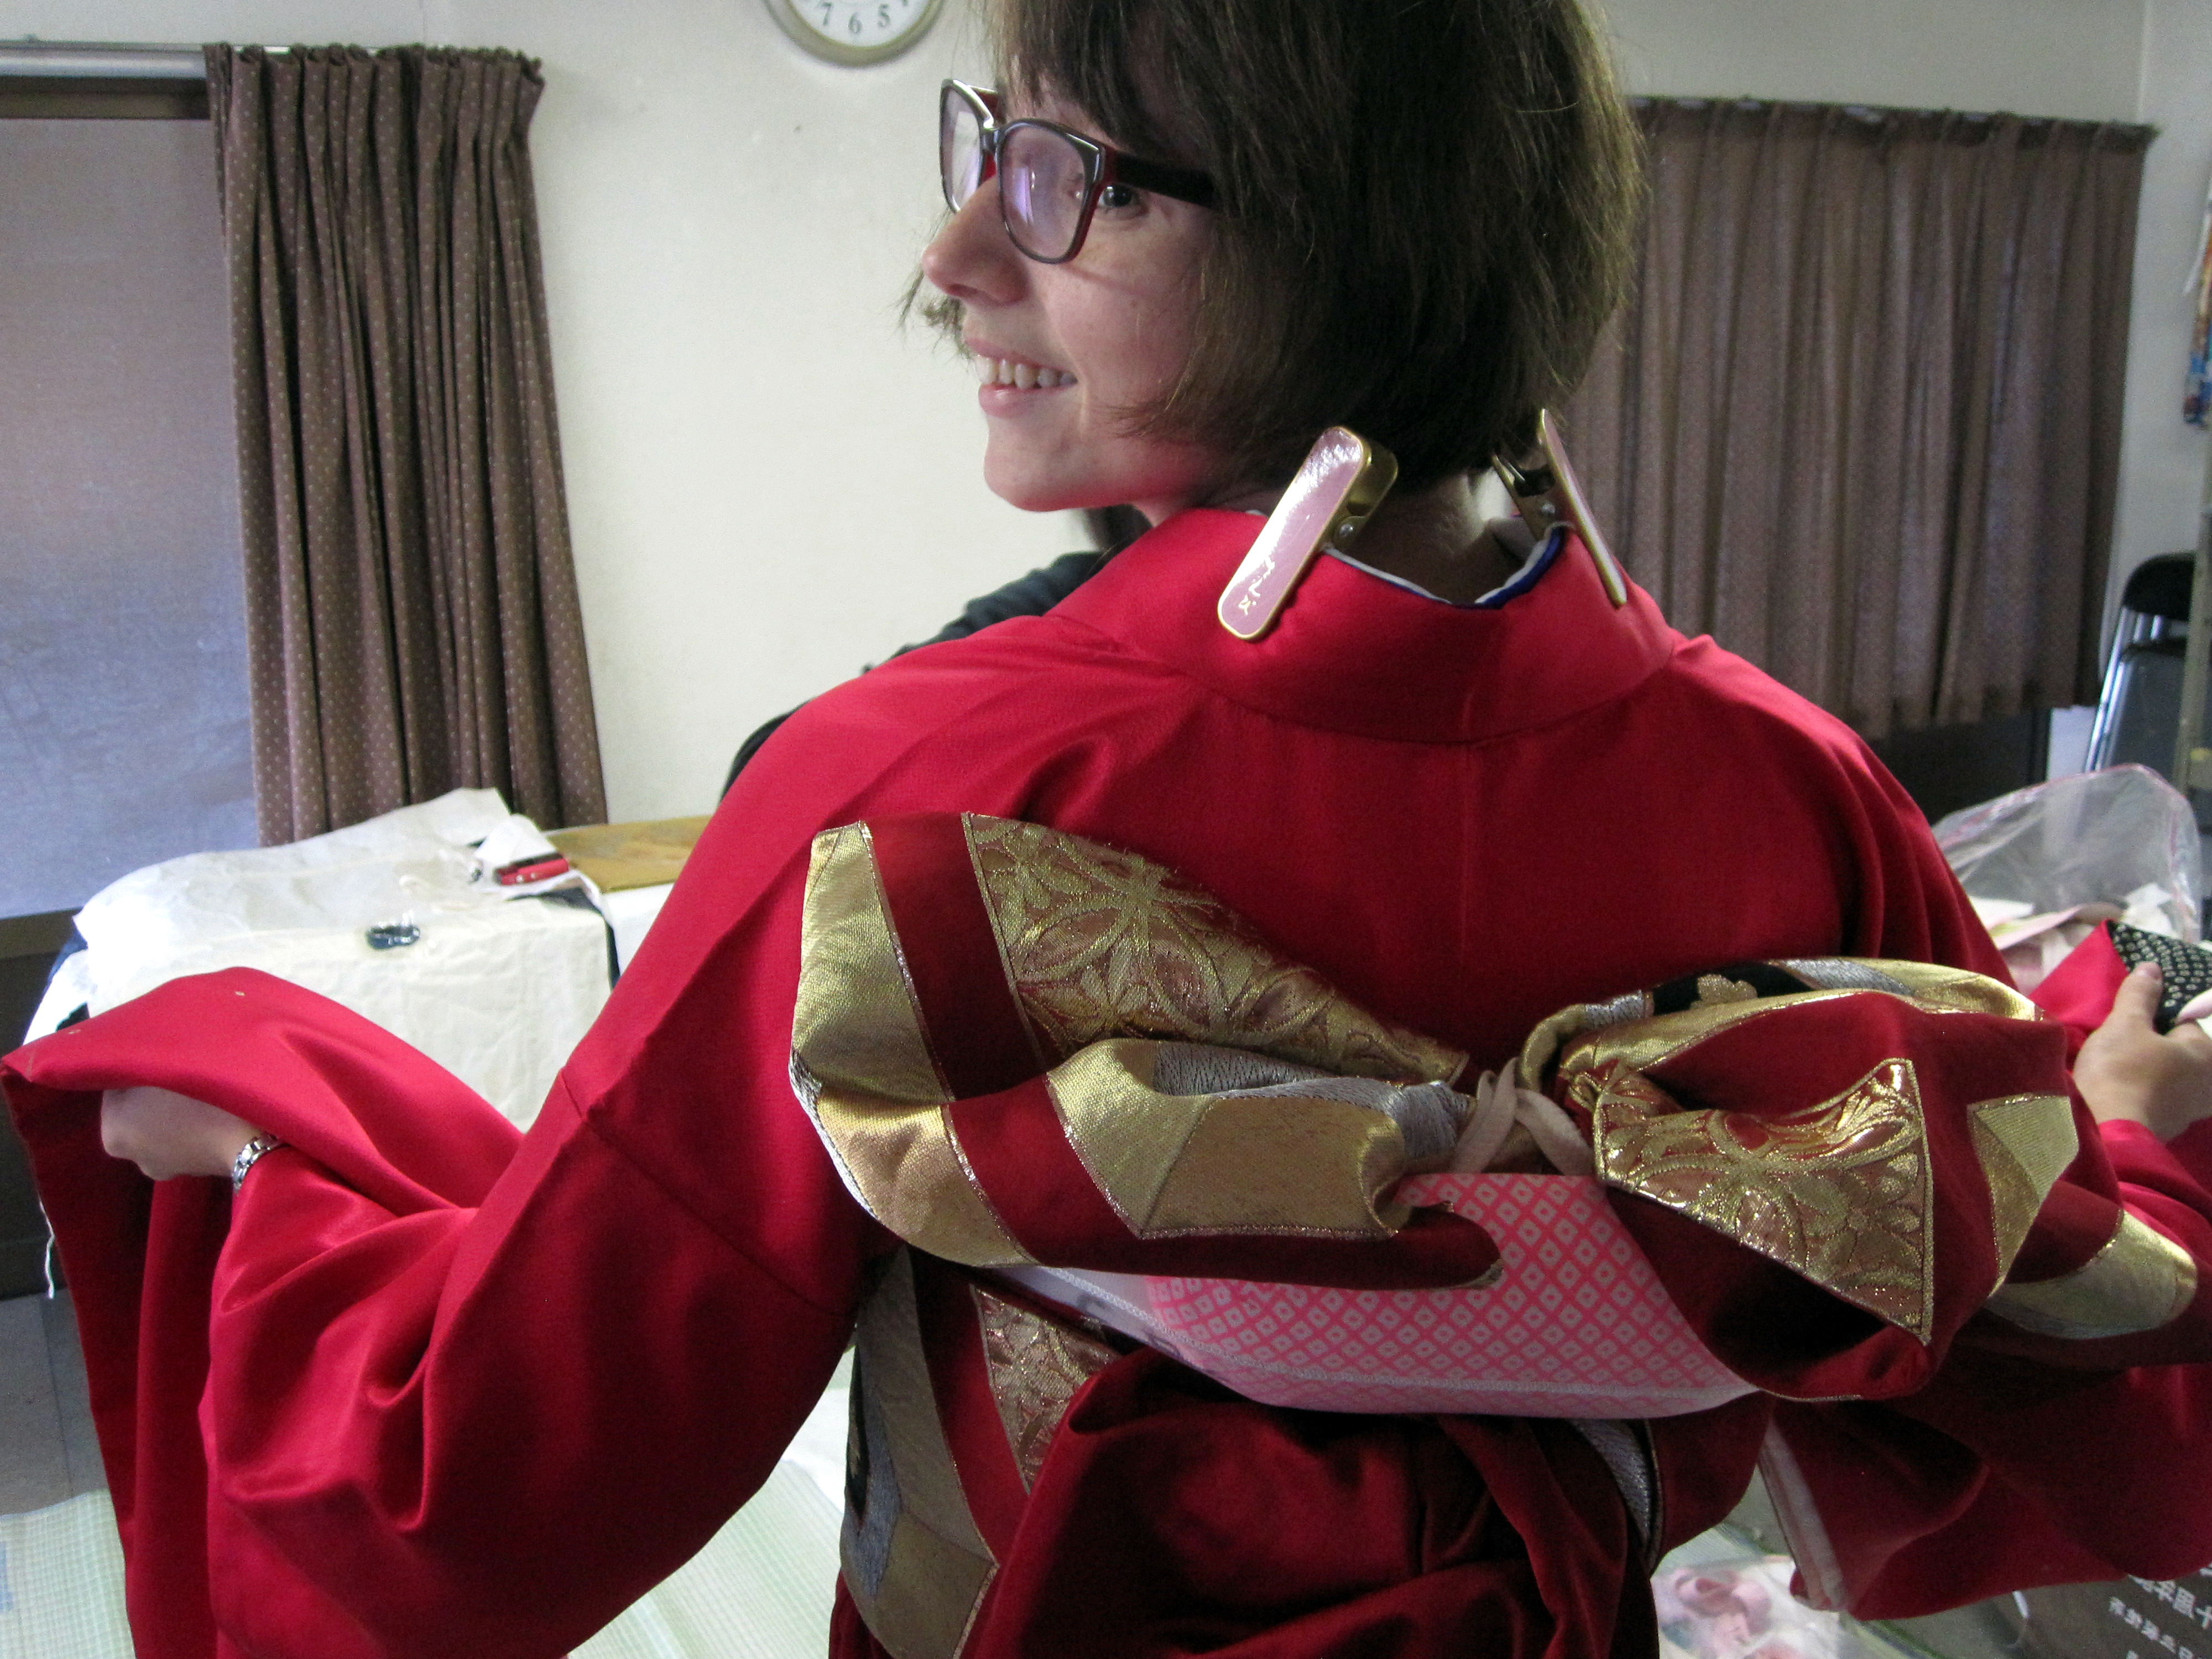
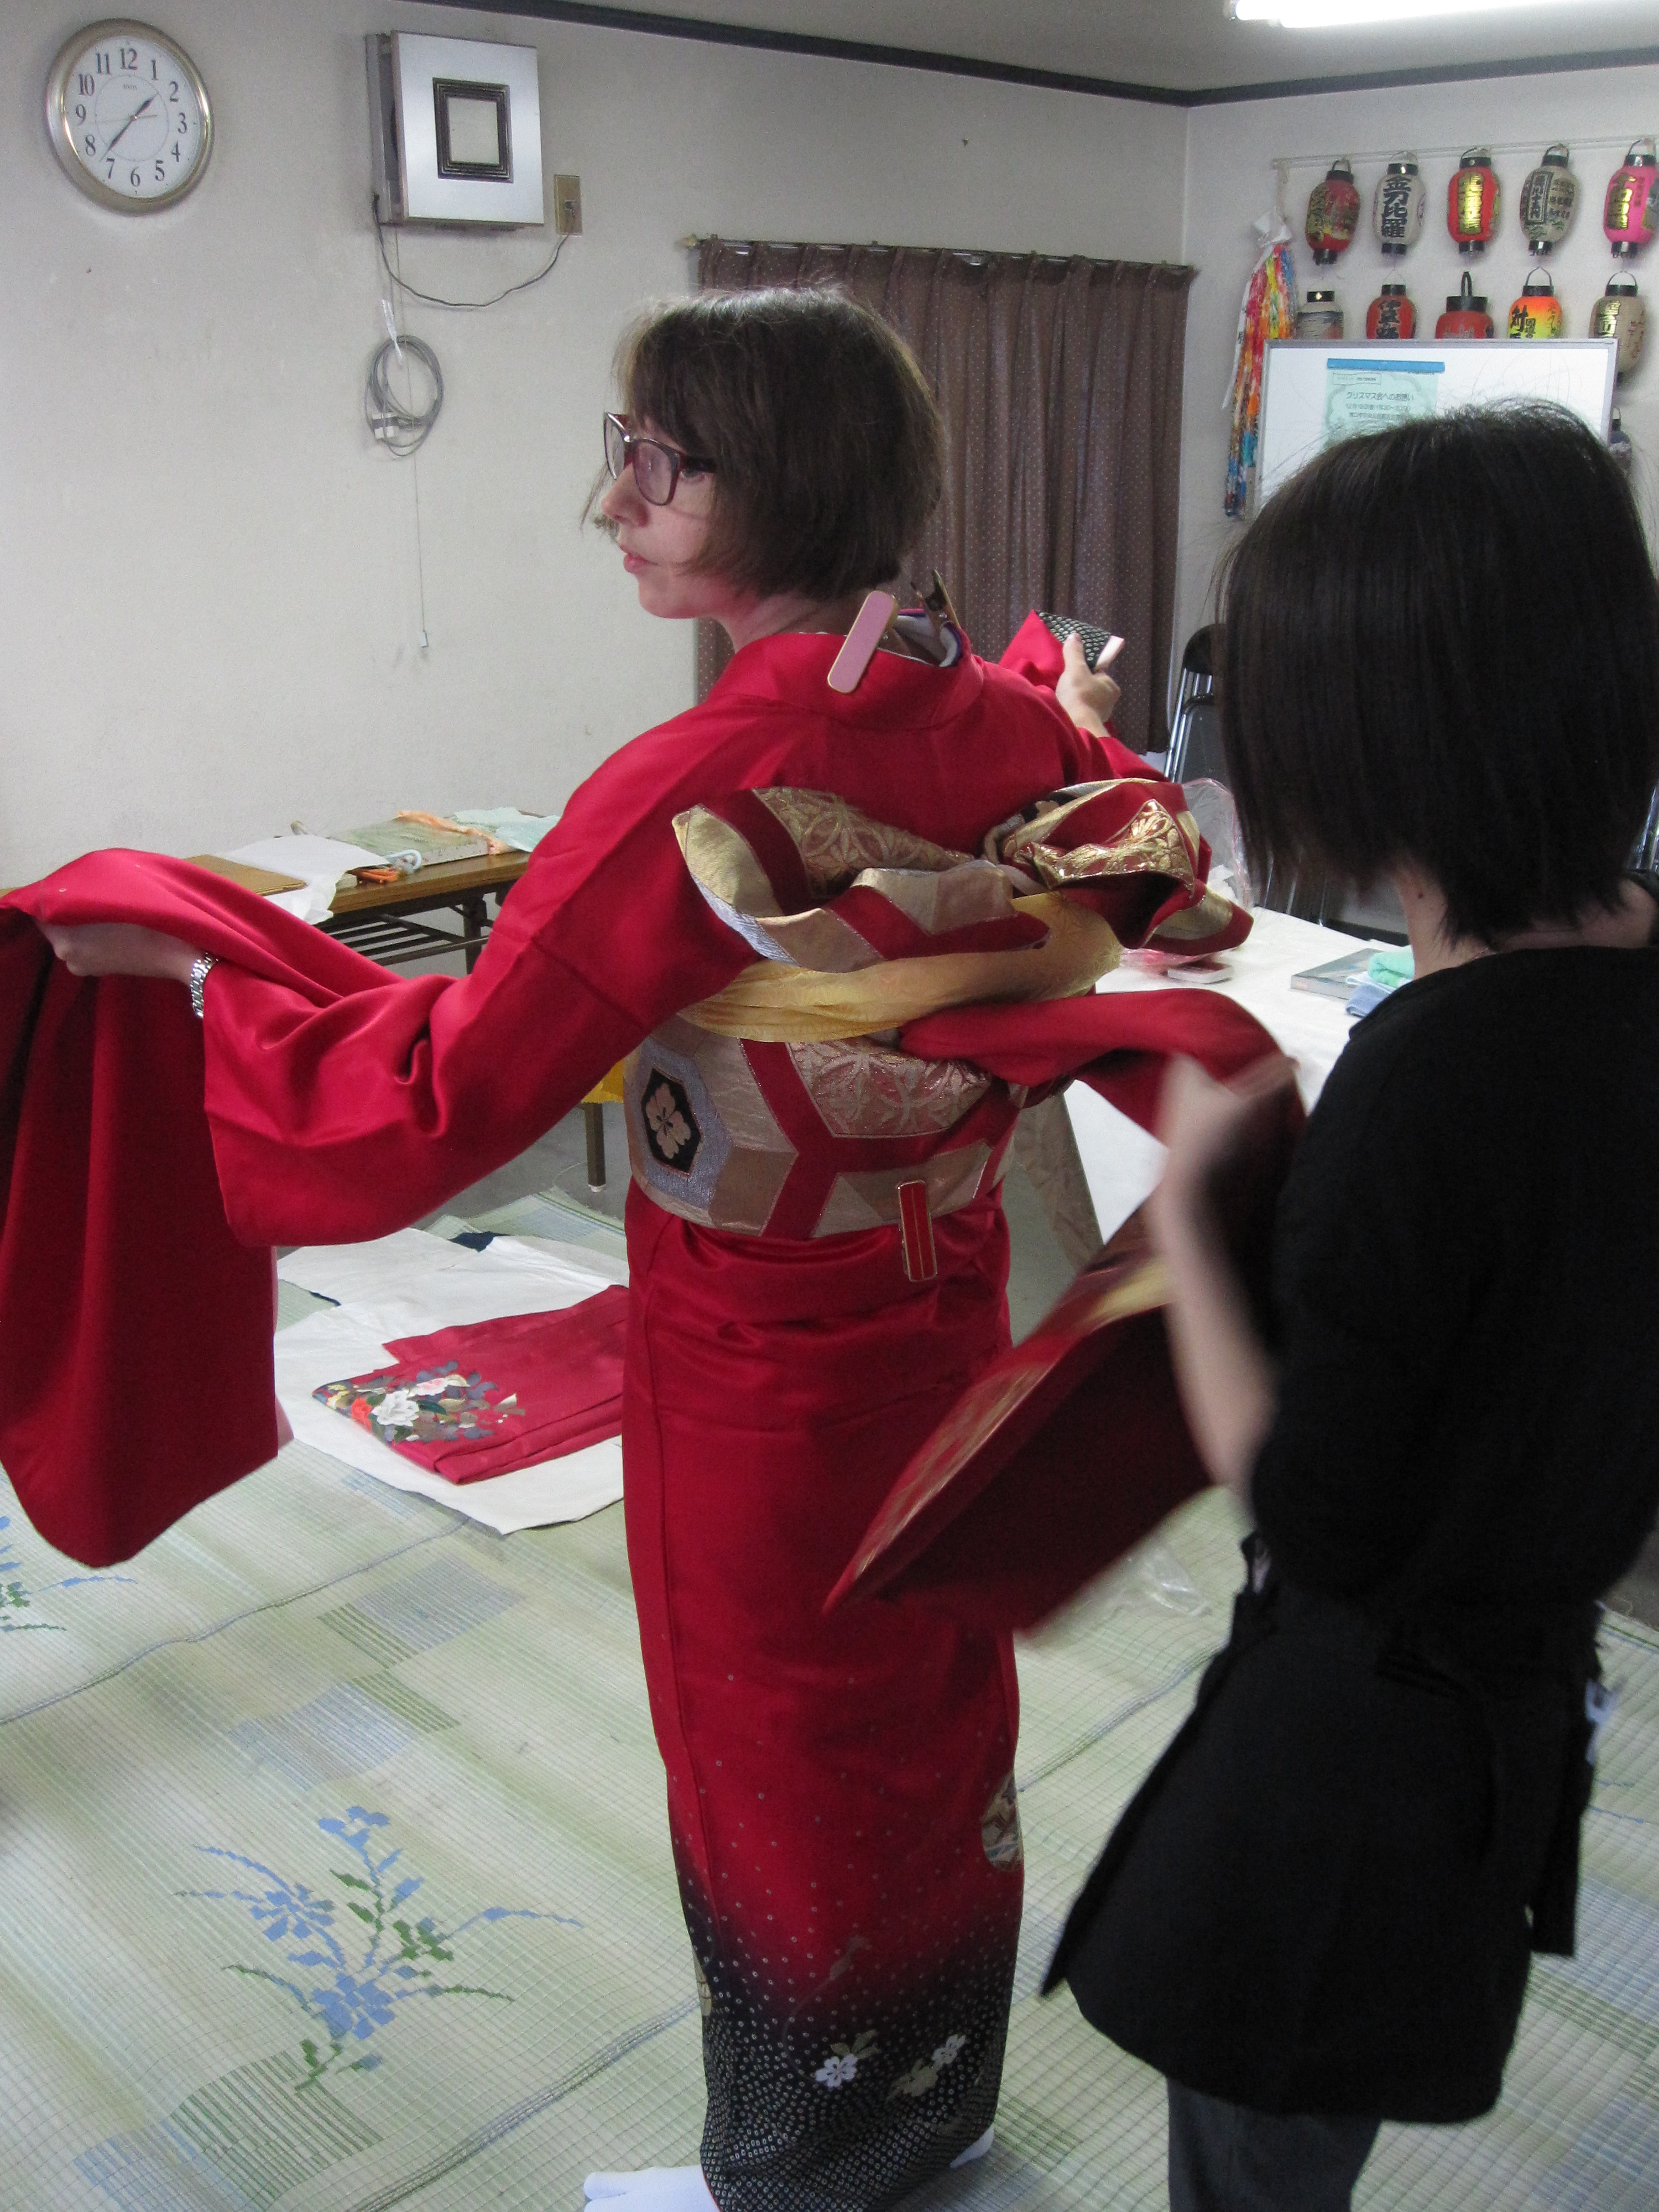
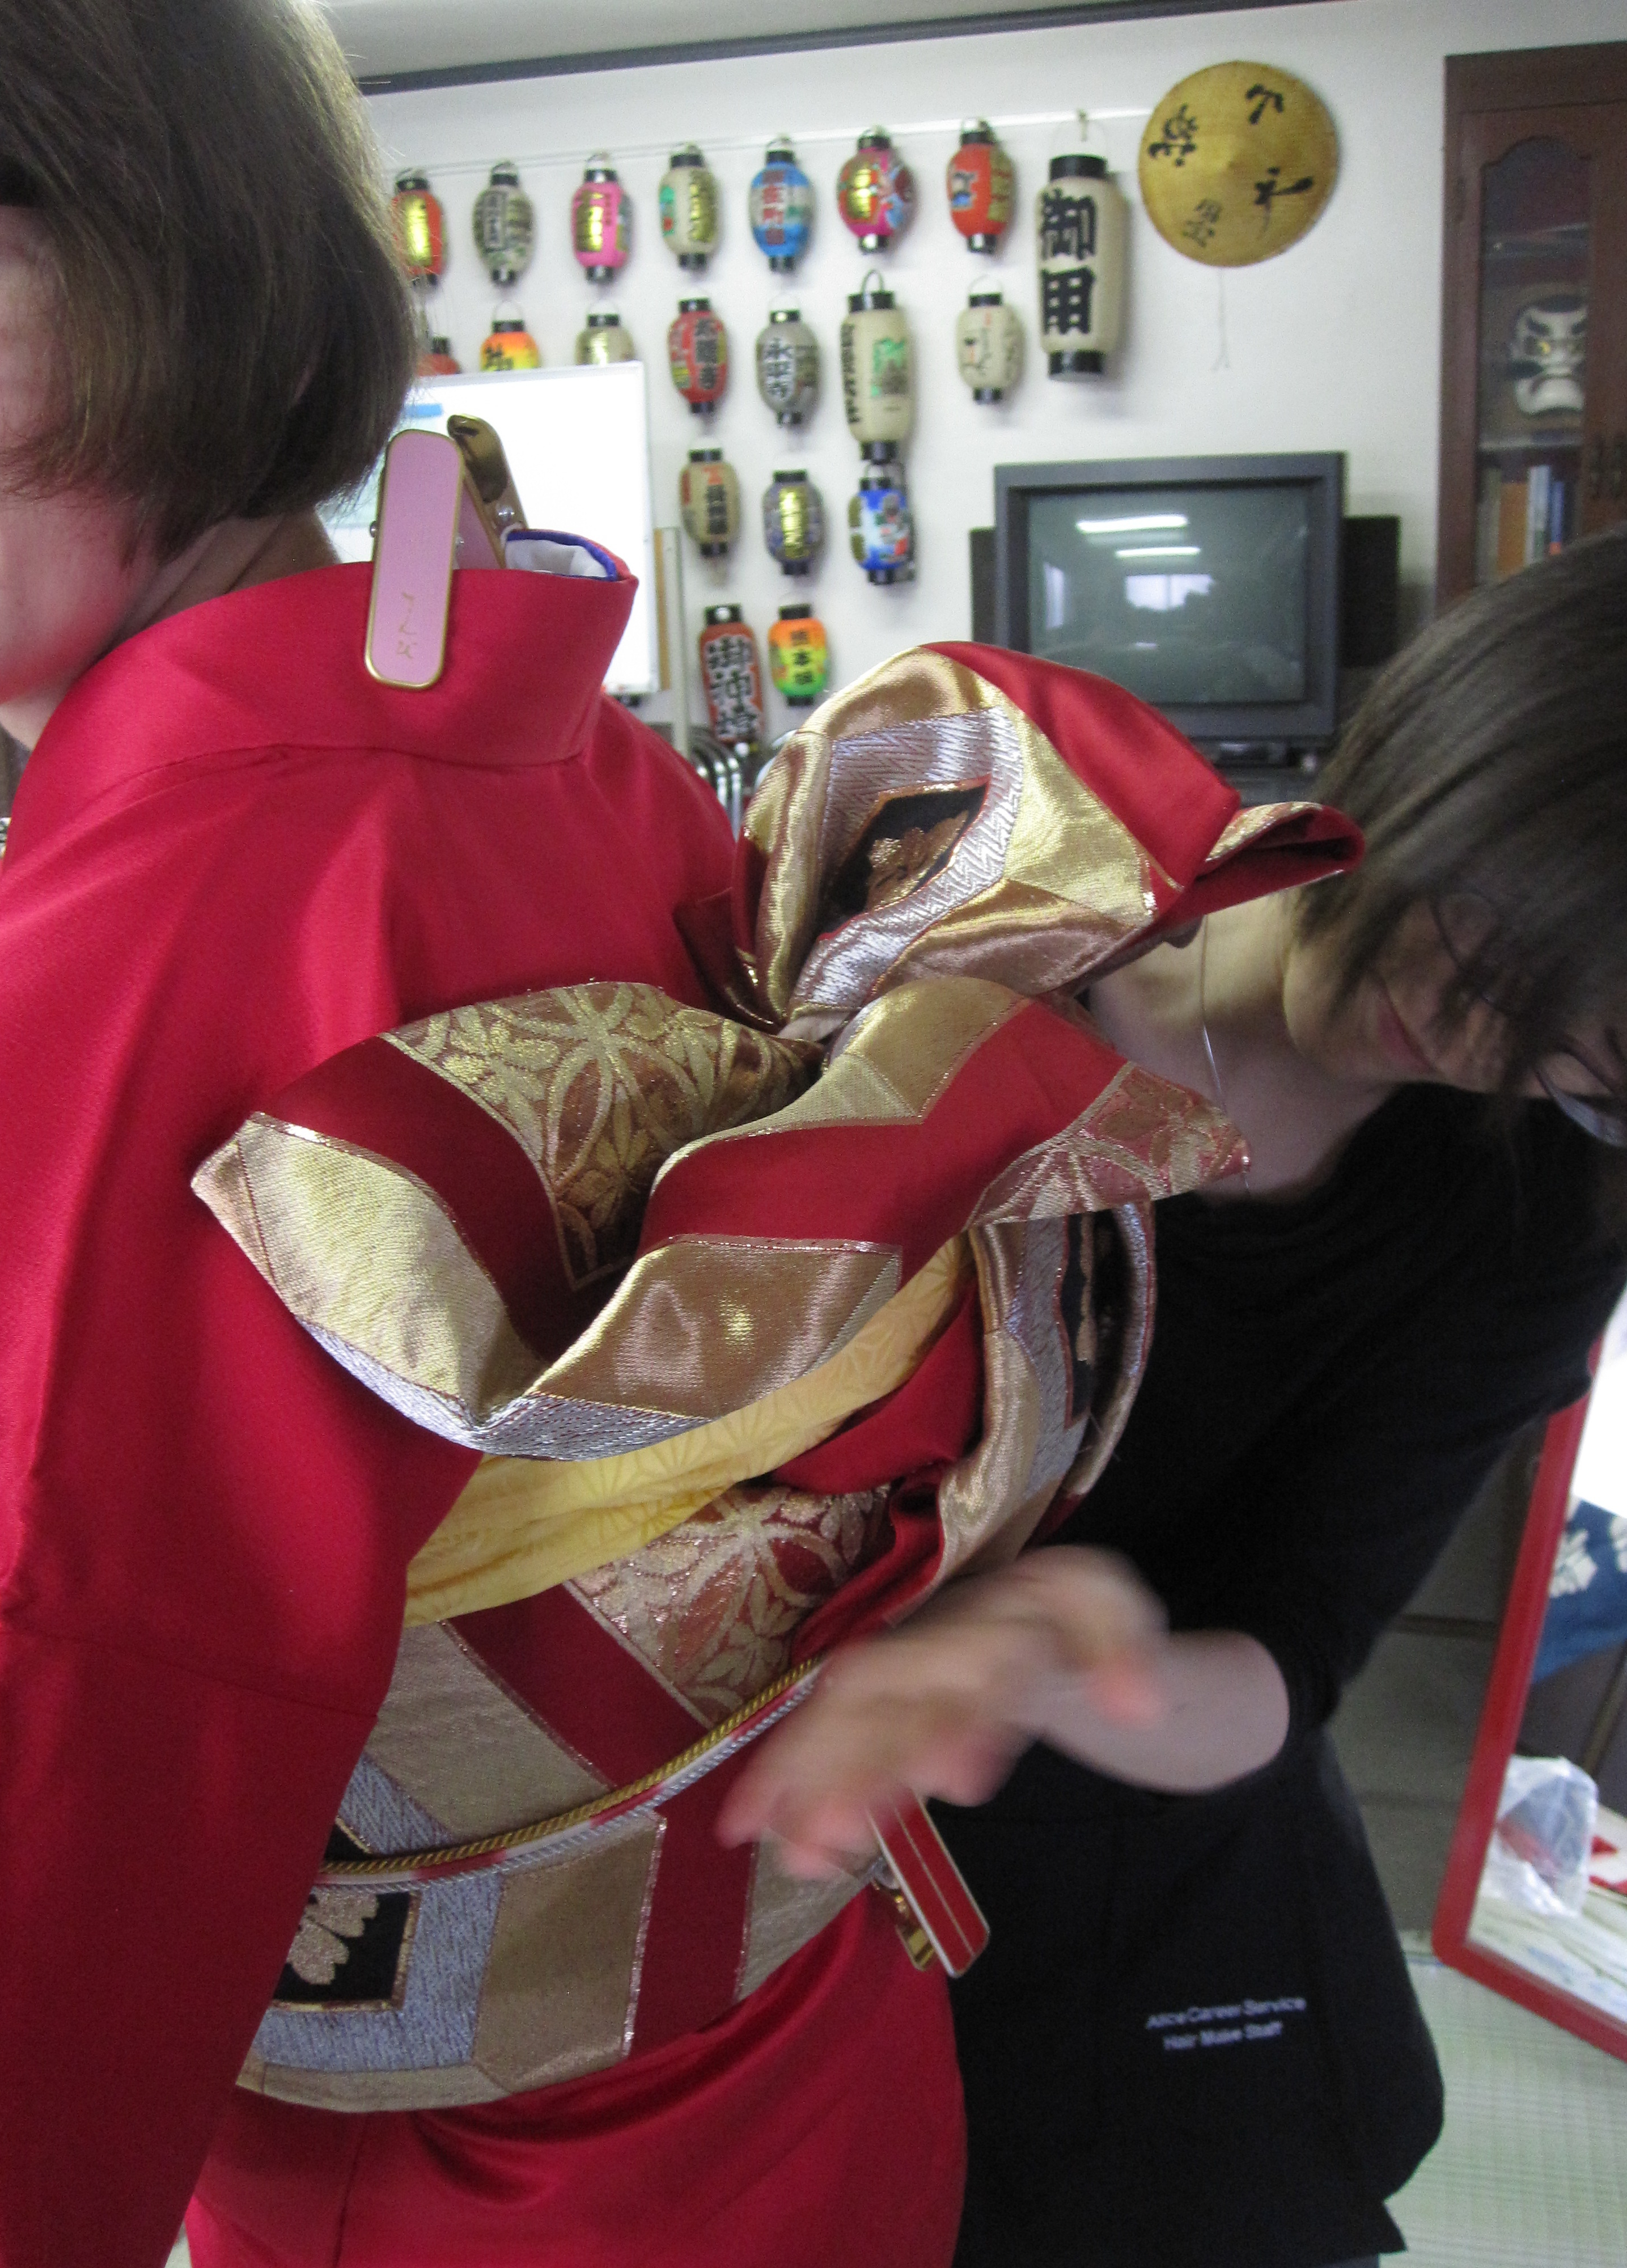
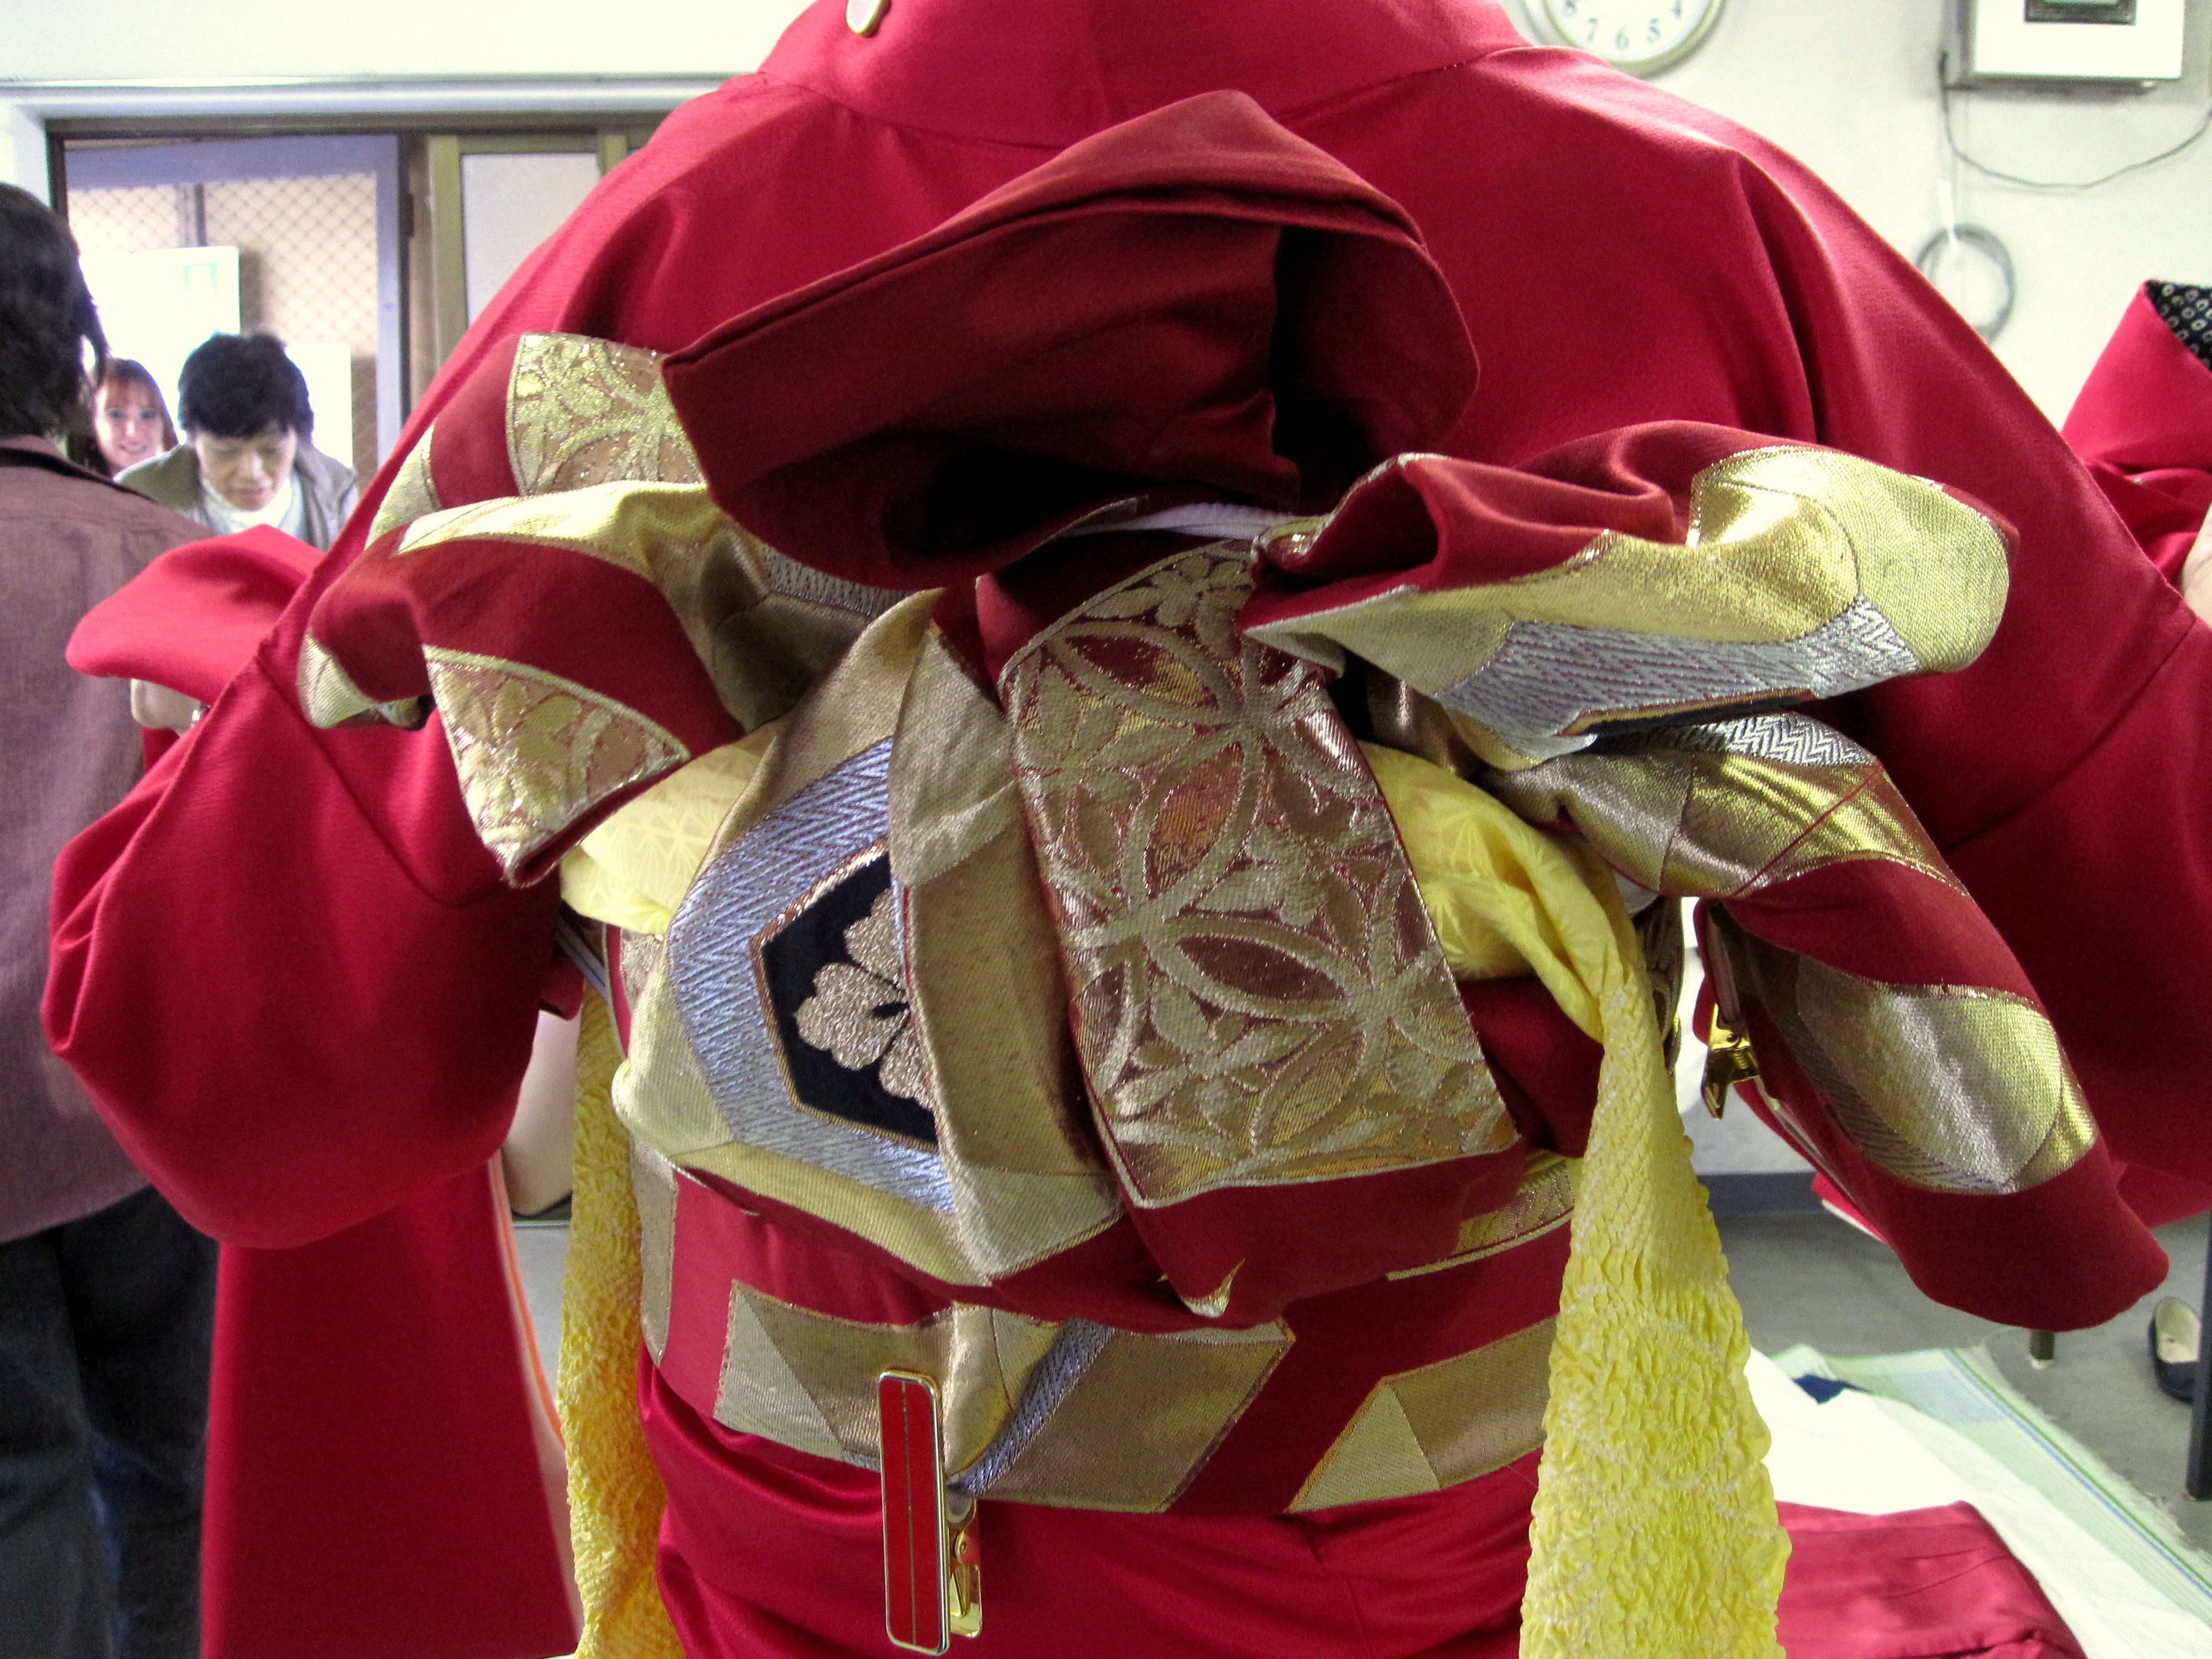
I got the feeling that wearing a kimono, especially the obi, is like wearing a form of origami. Even though the fabric is thick she made very specific folds to get impressive results. Here are some photos that show a bit of the process:
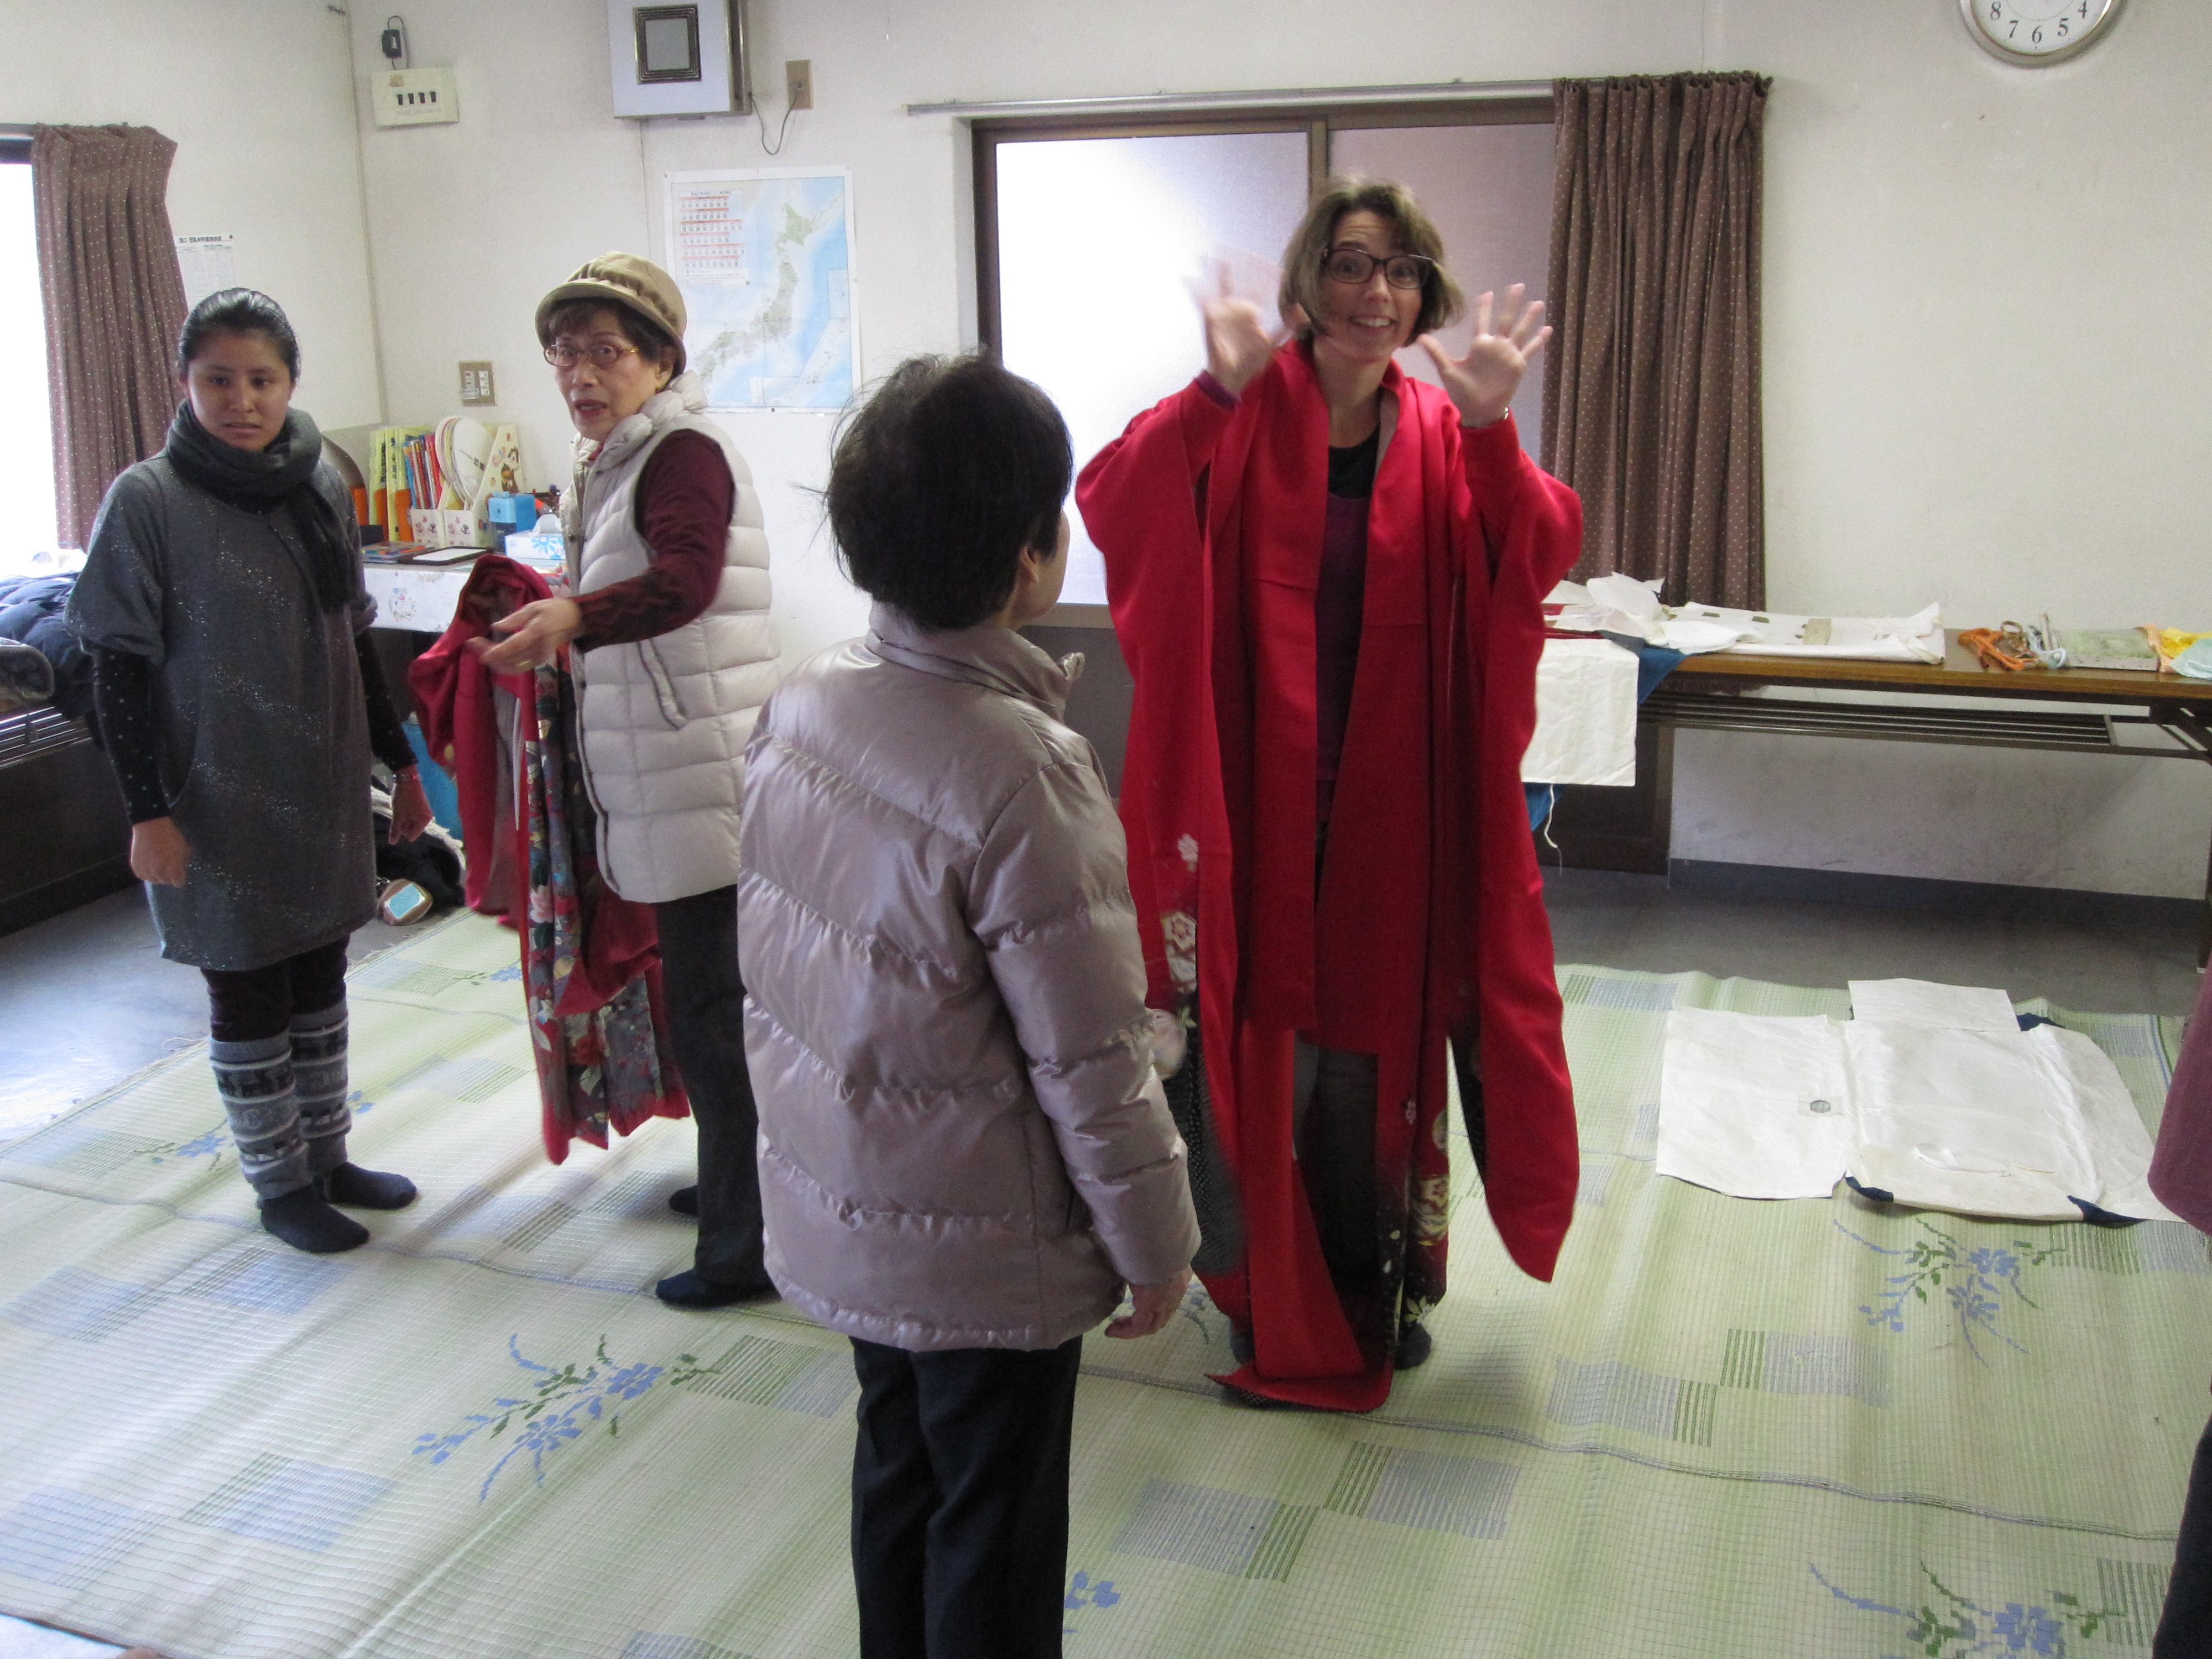
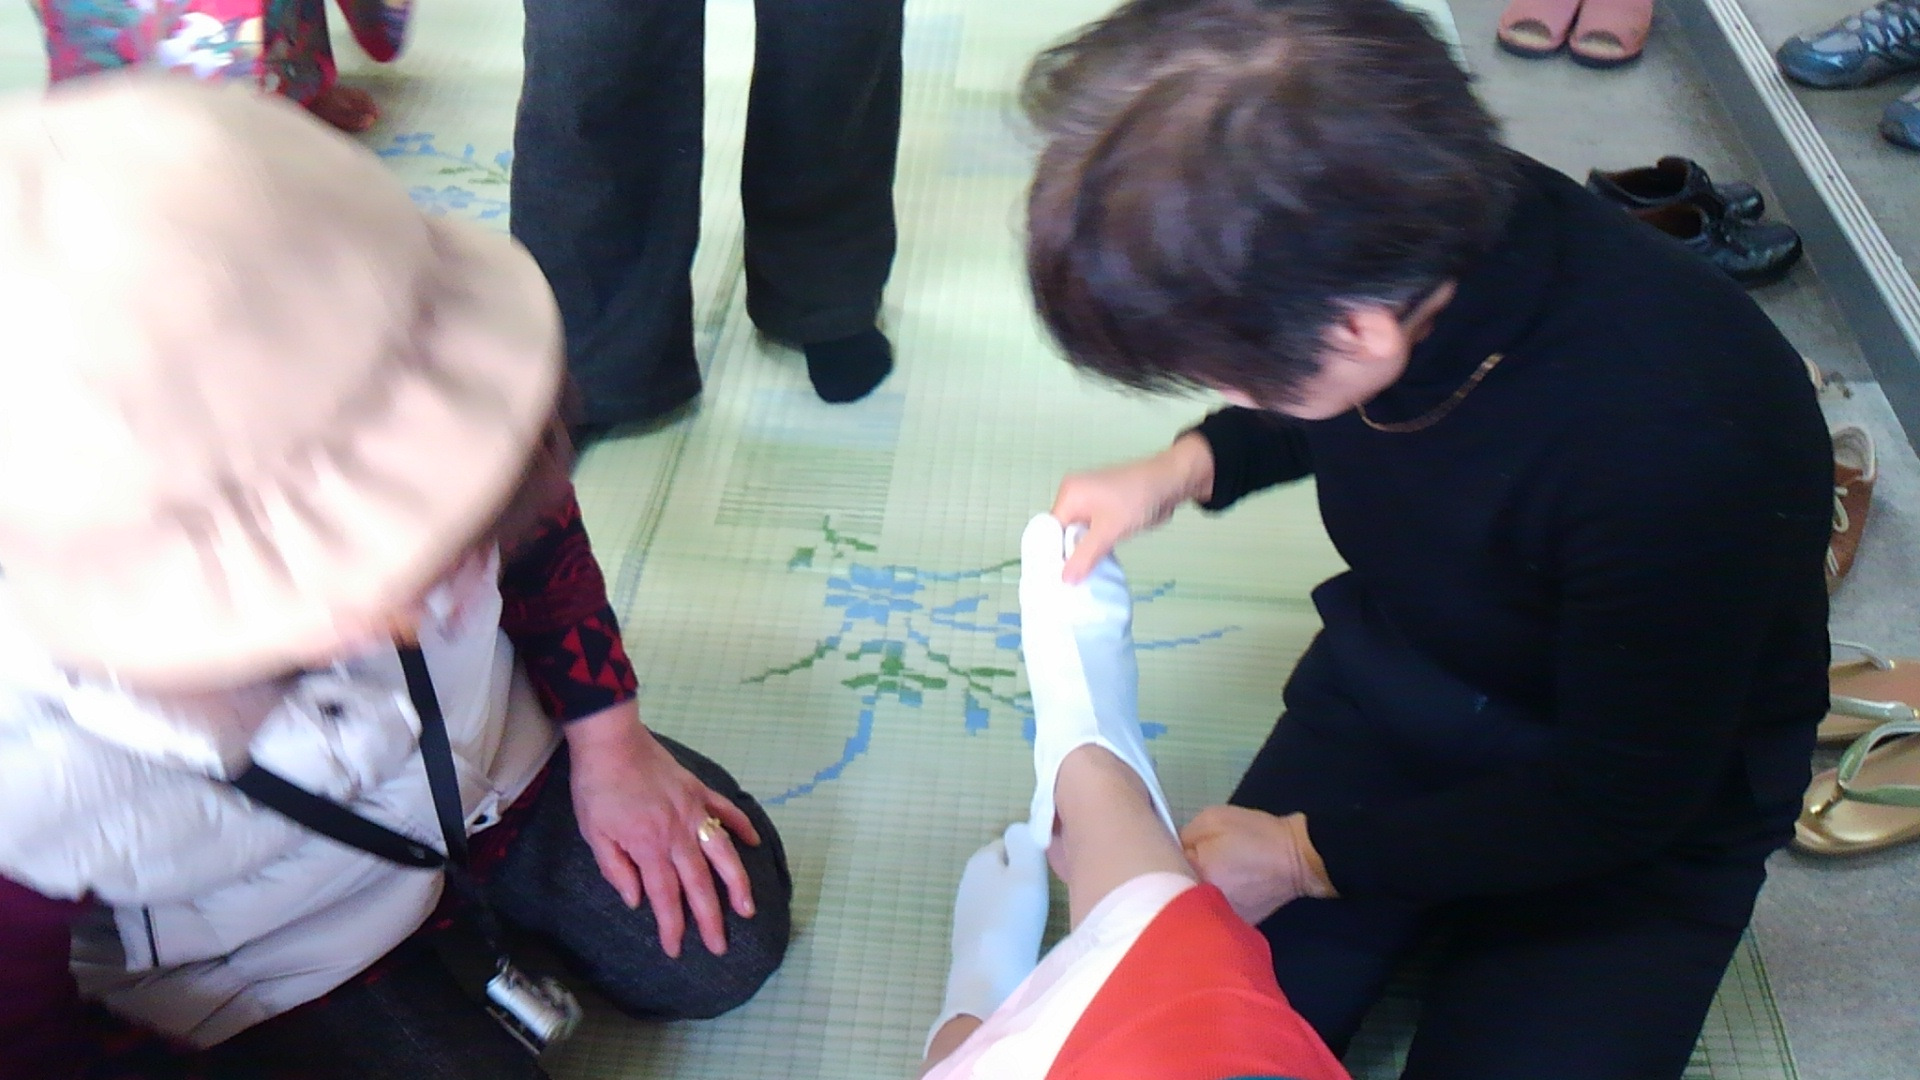
Above you can see that the kimono is dragging on the floor. Even for a tall person like M, it is much too long, but this part of the design; this way it can fit almost anyone. The kimono bottom is arranged to the right length, excess fabric is folded up and held in place using strips of fabric.

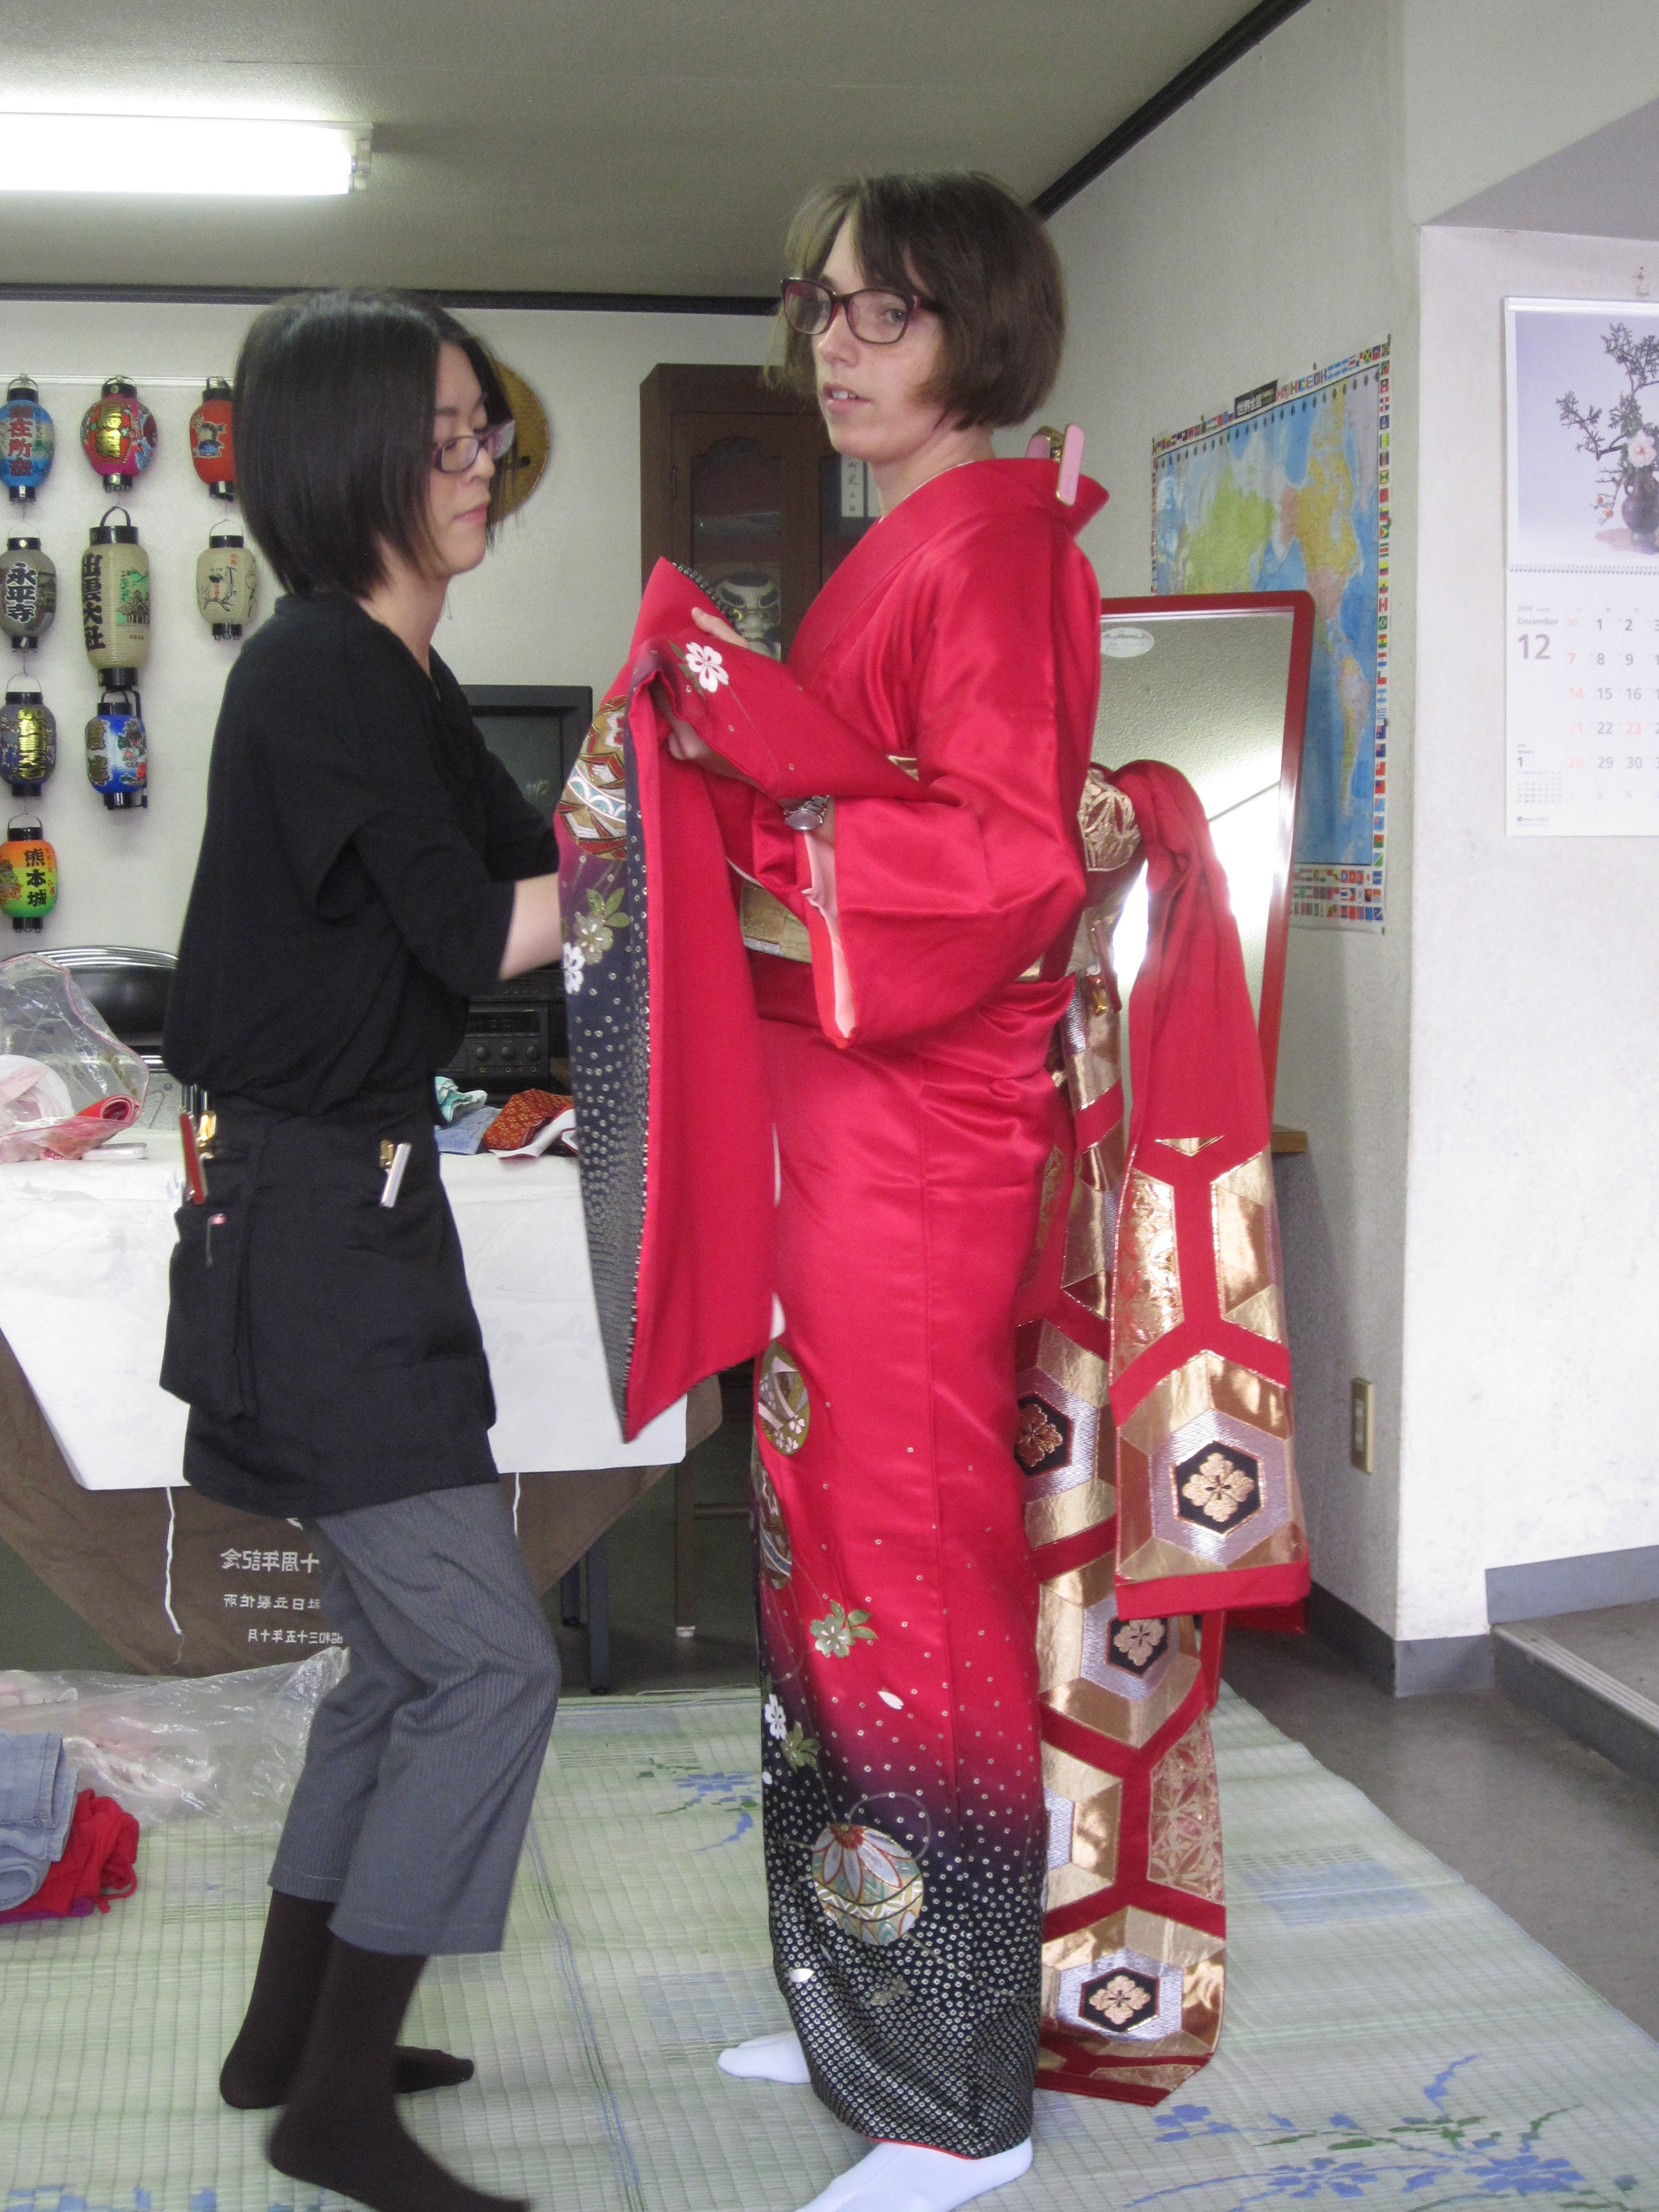

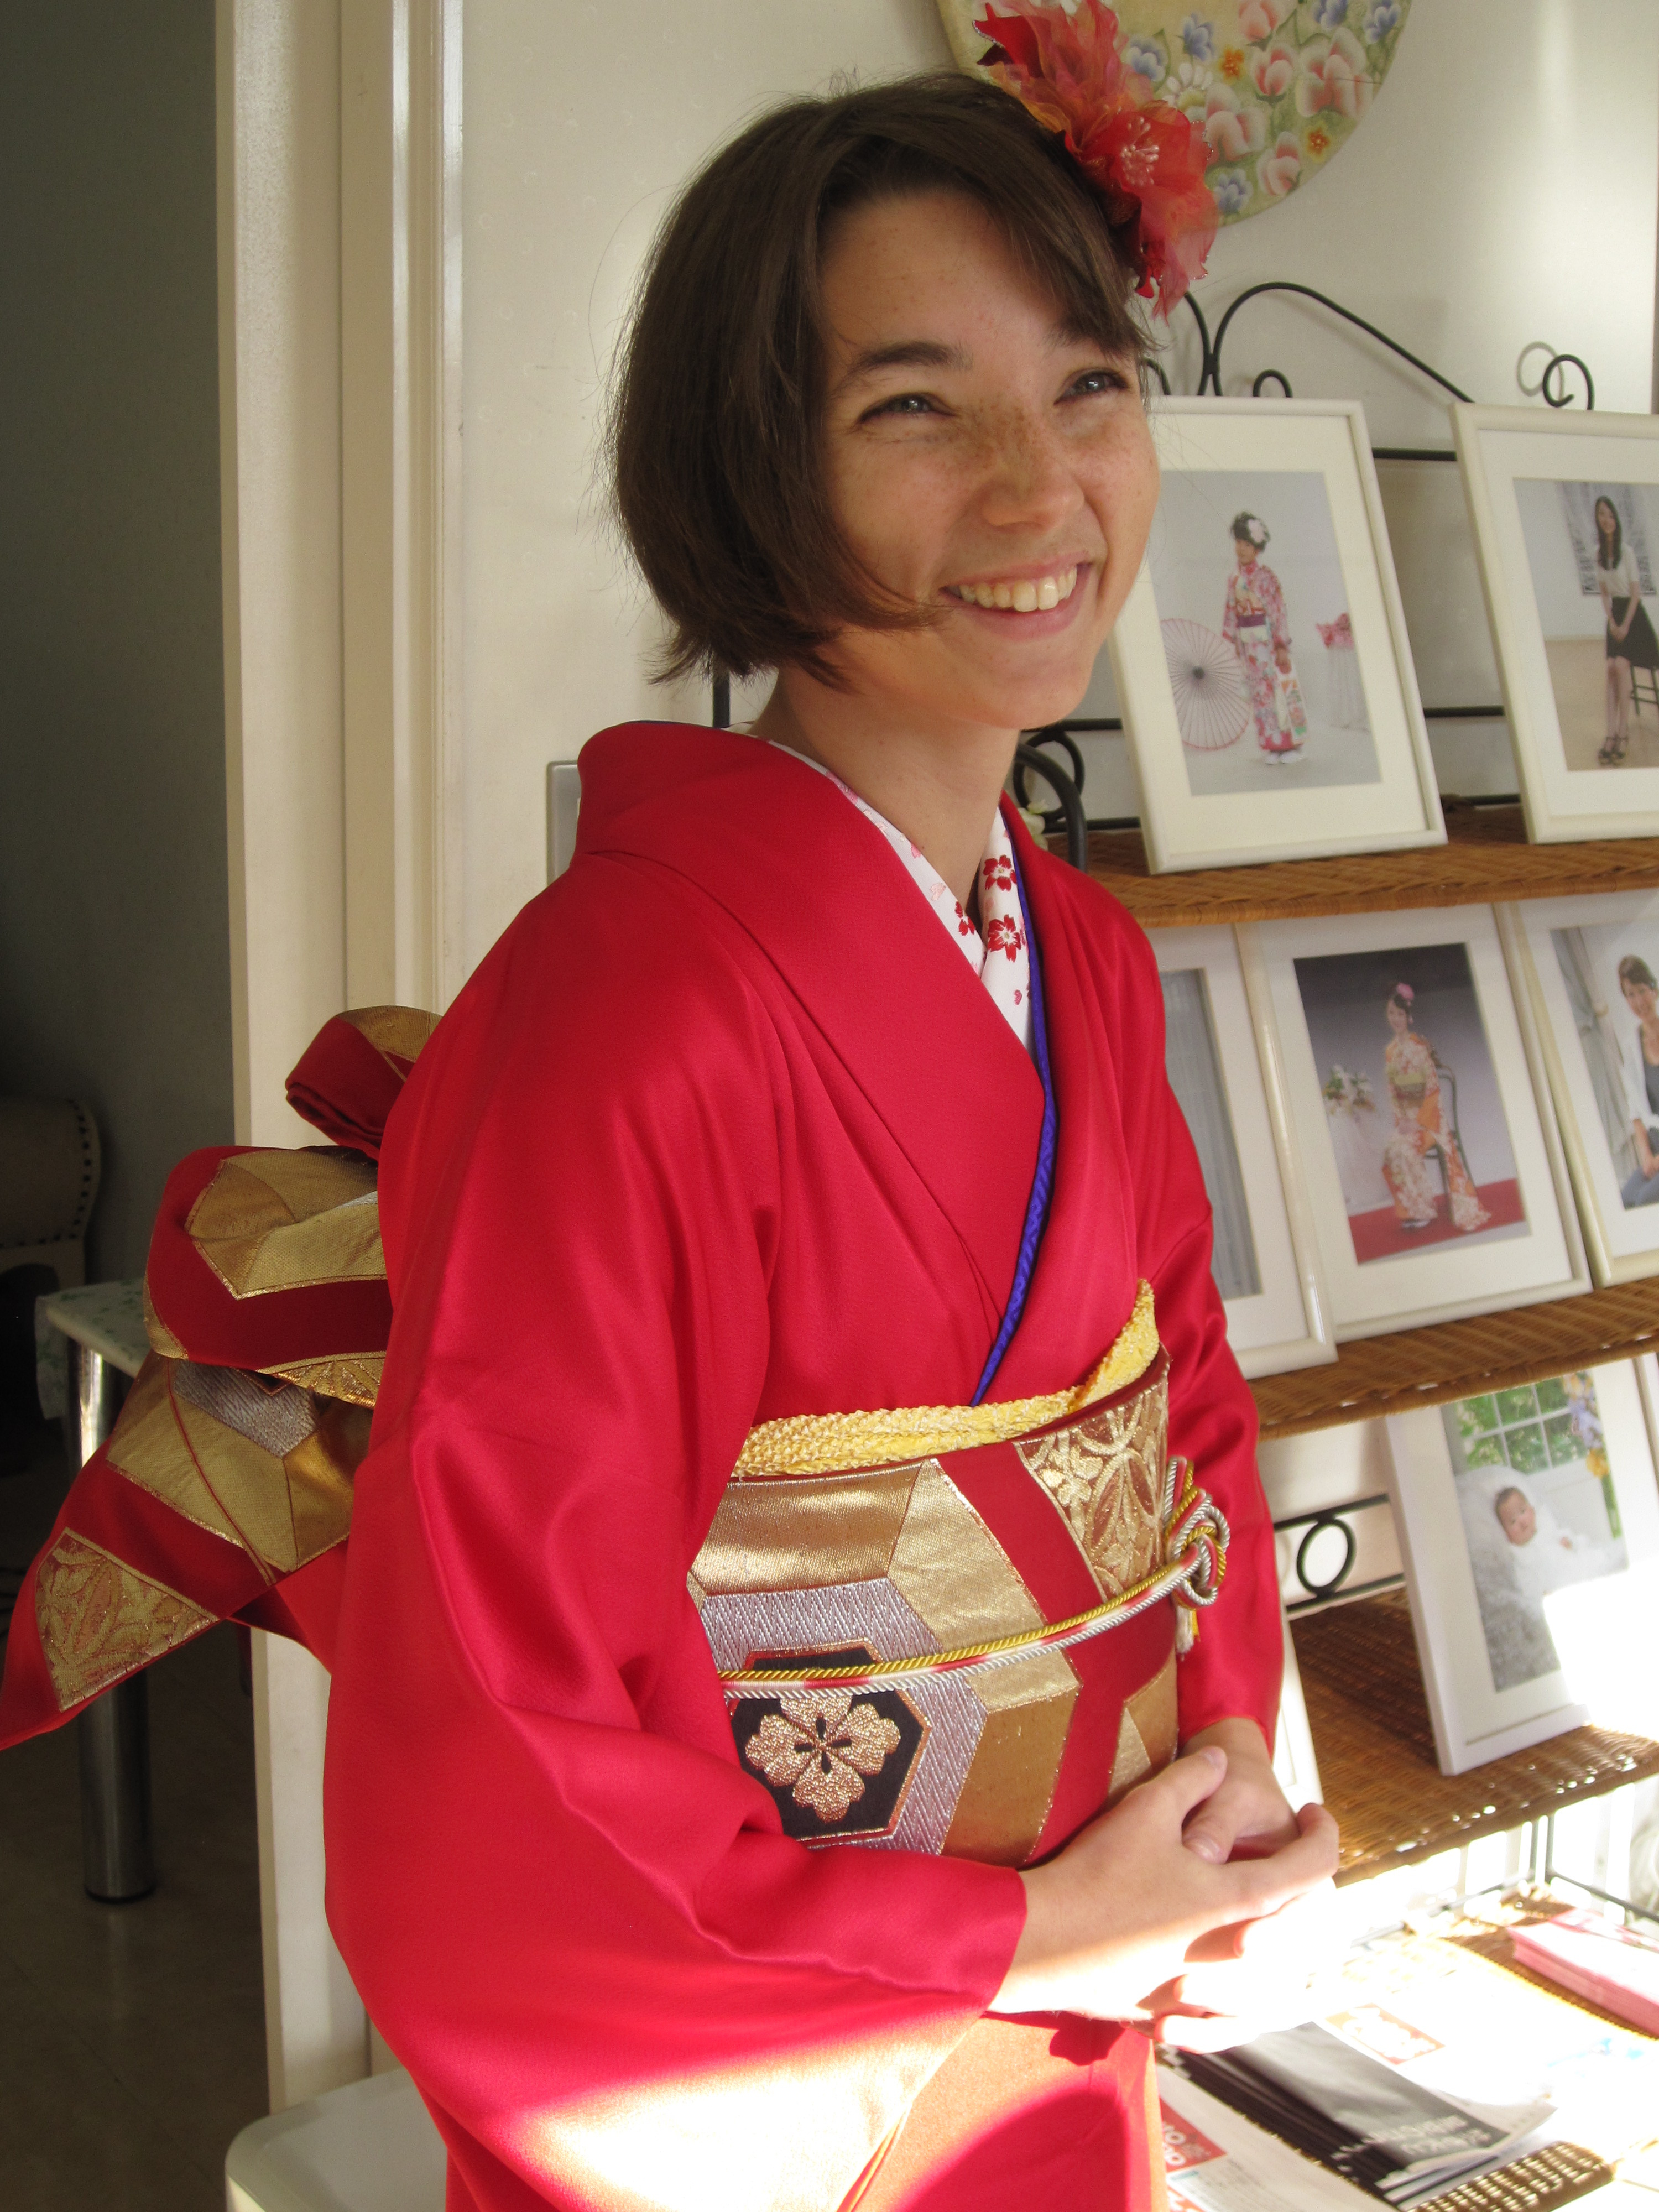
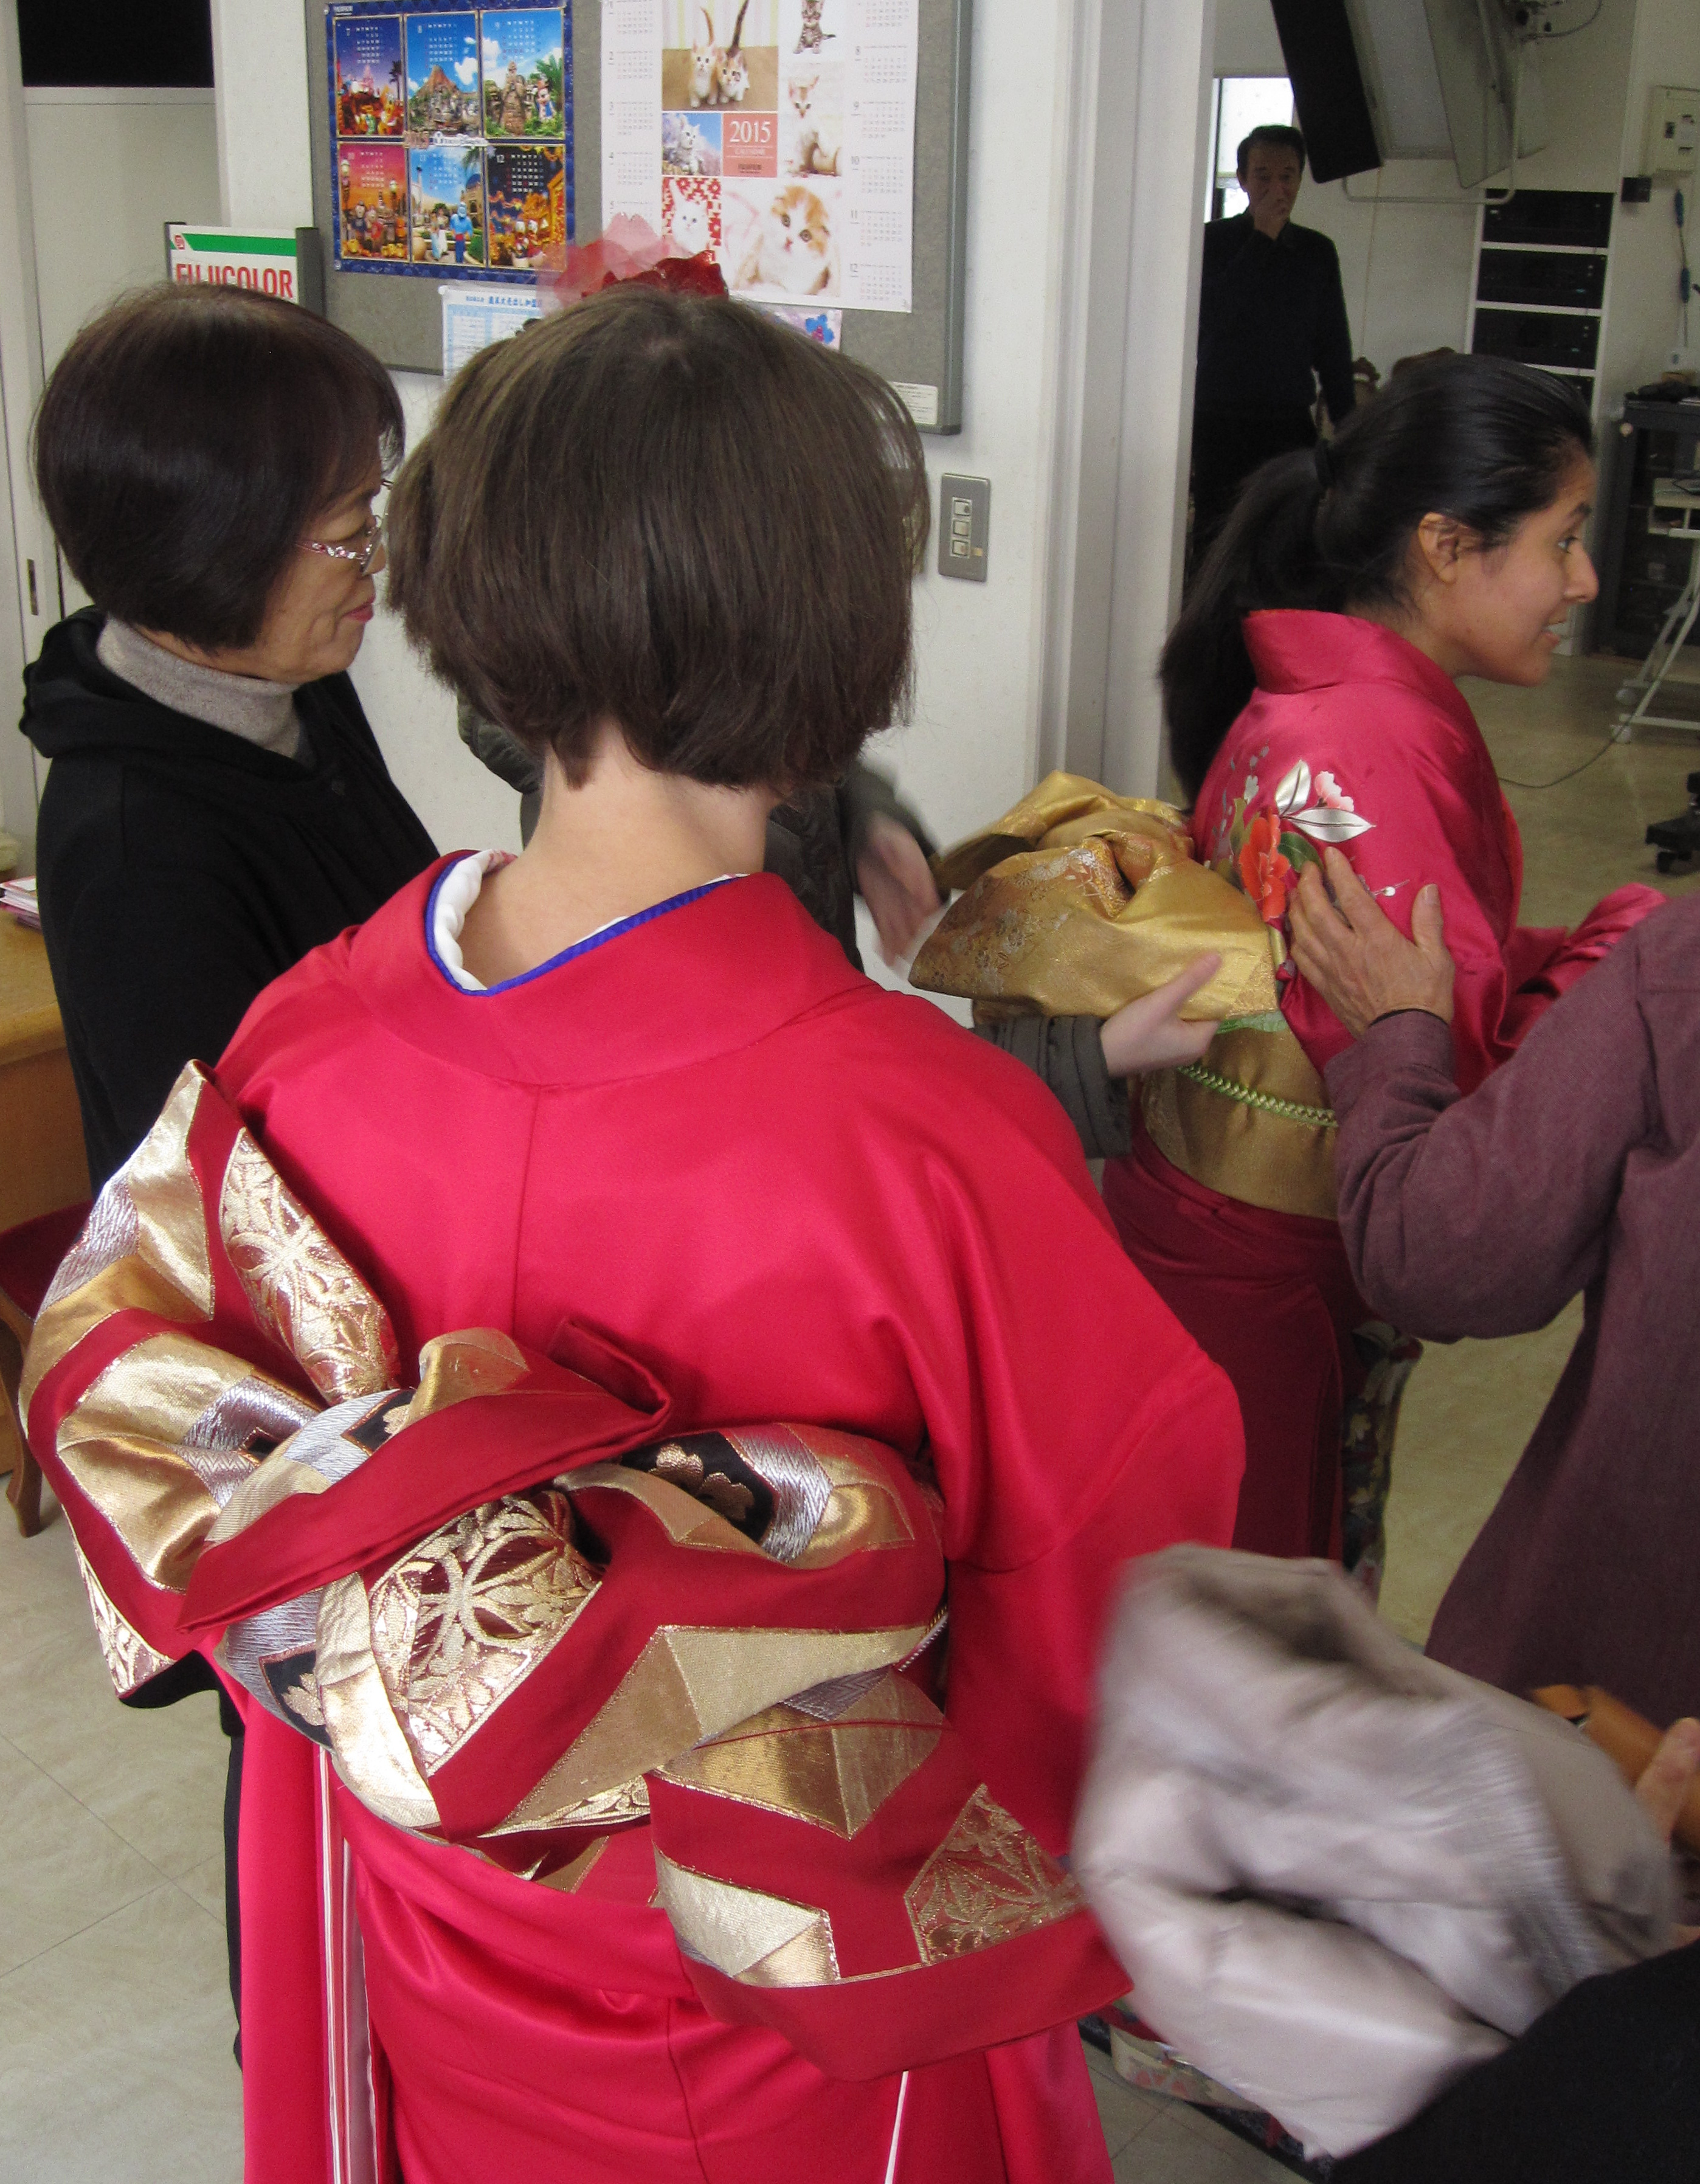
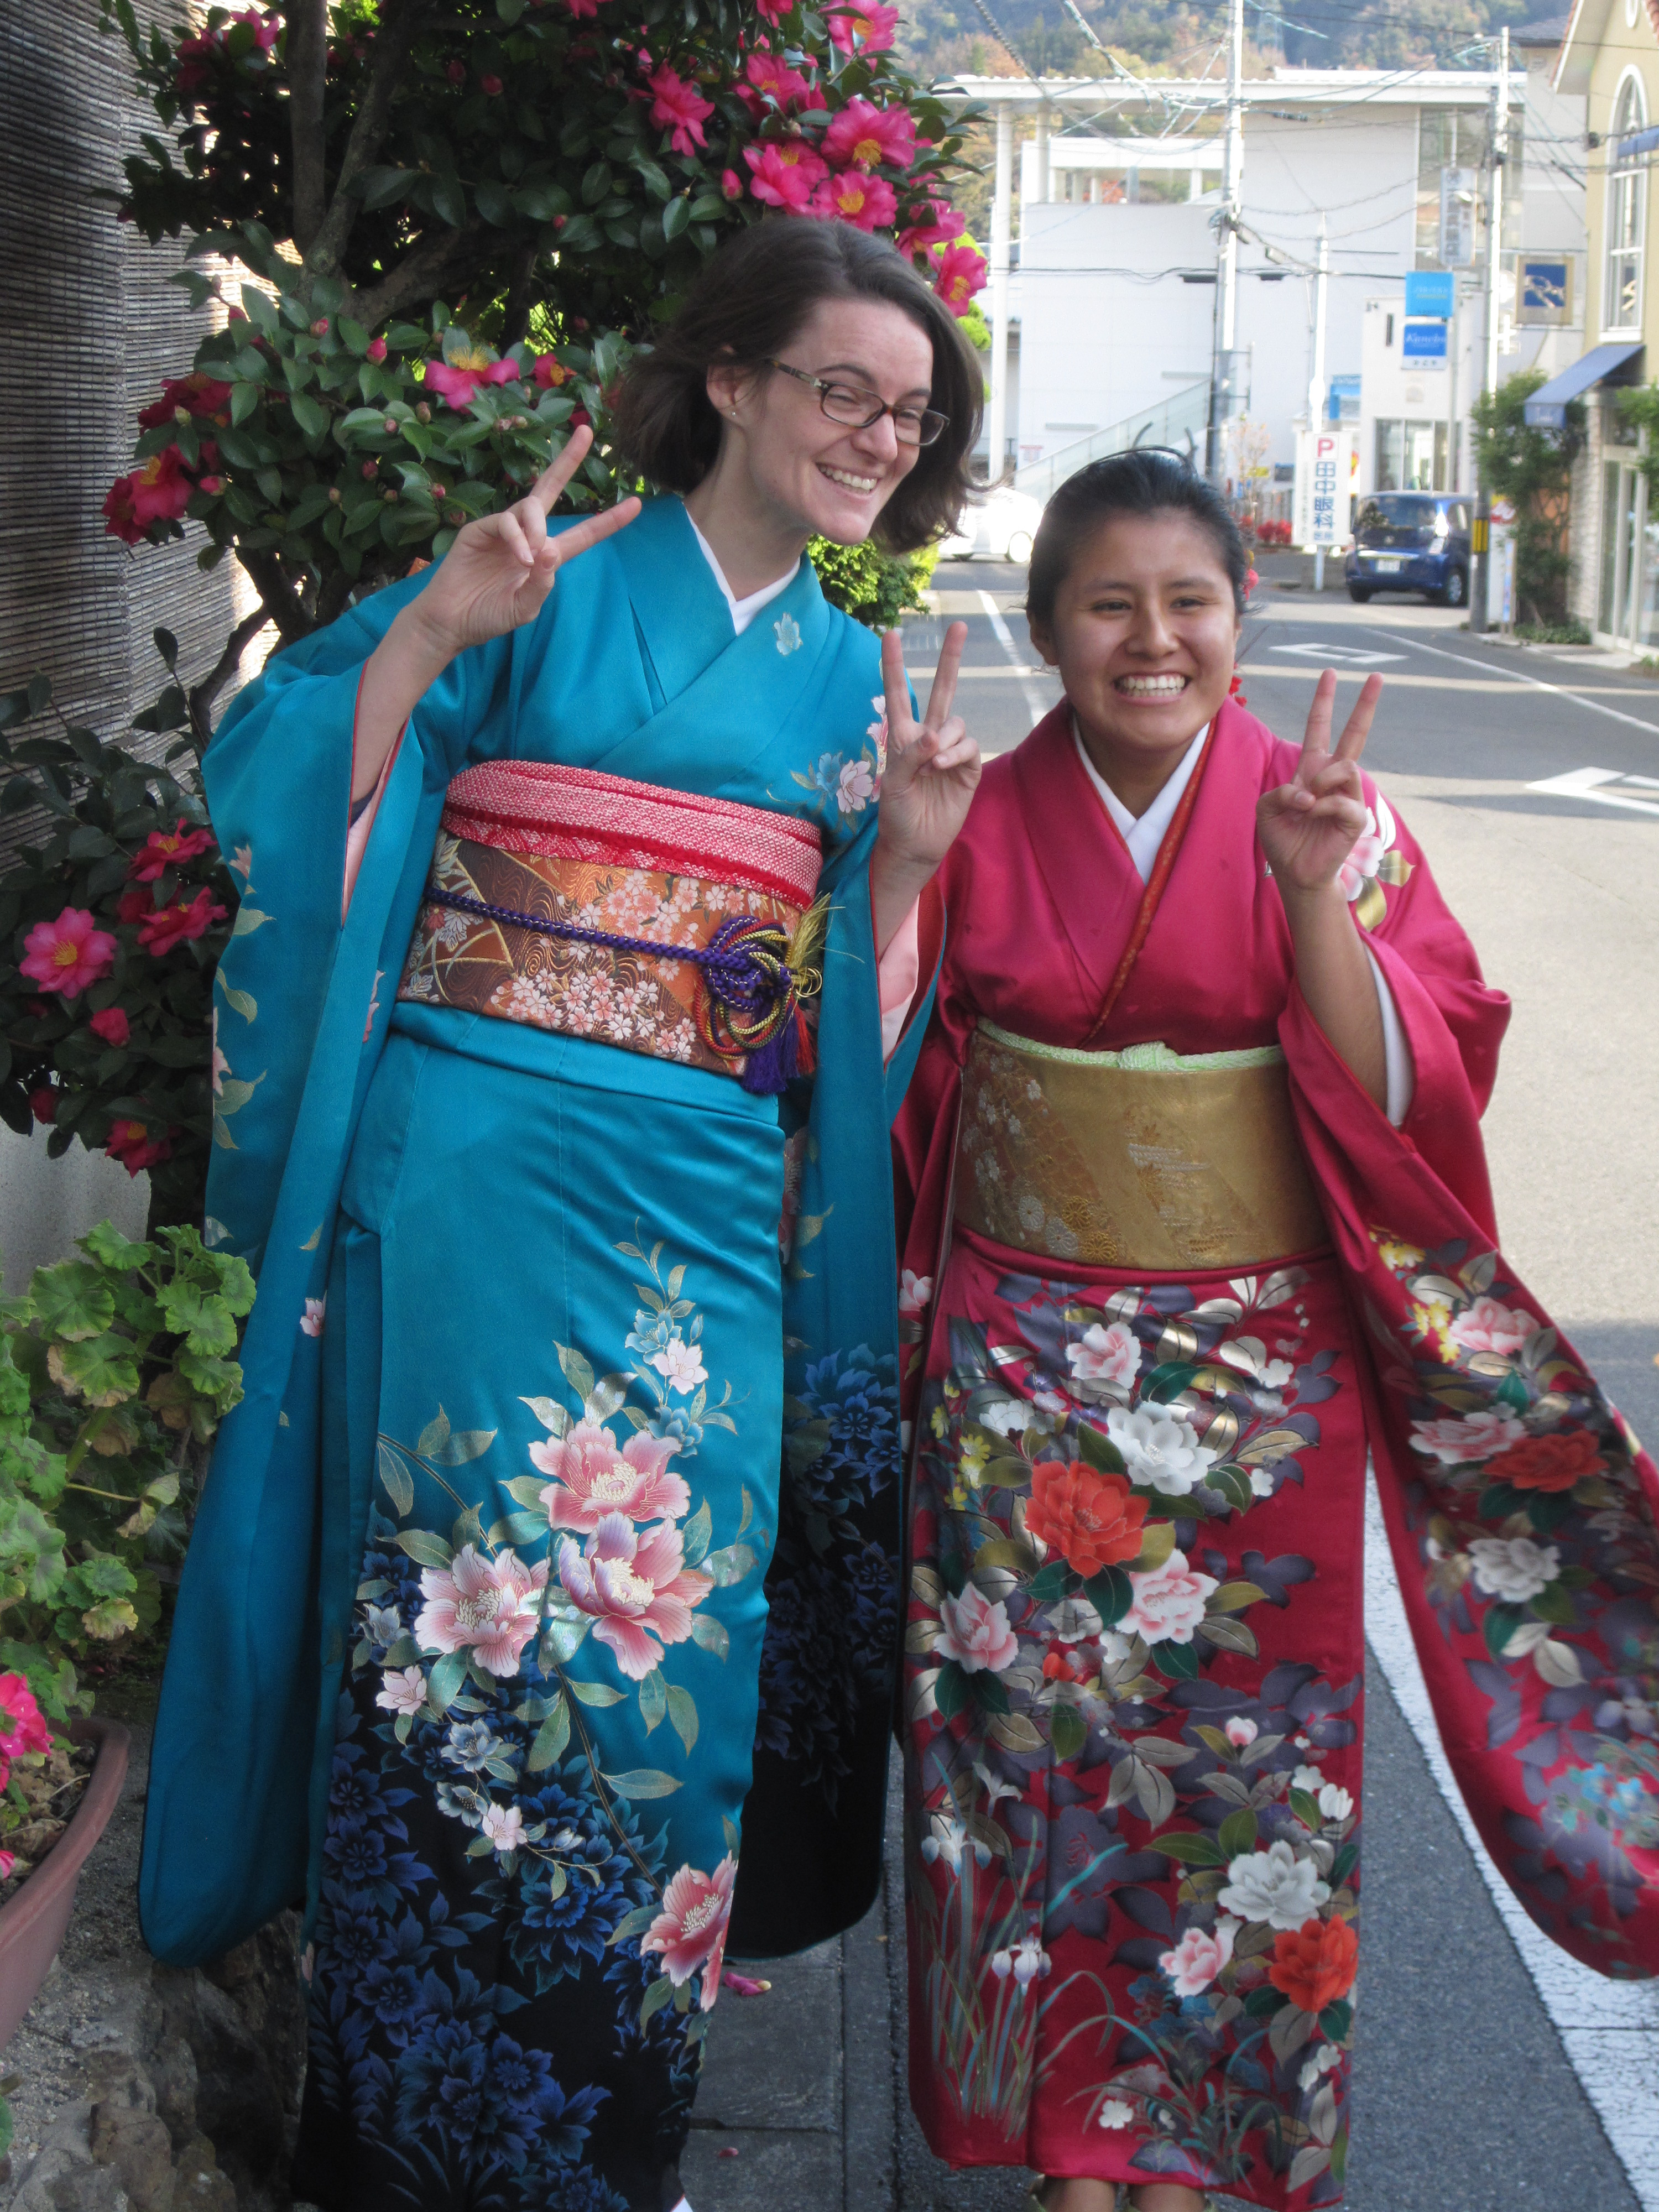
In total she dressed and tied obi for 5 people in 4 hours. Otsukaresama deshita!! Some of us wore the same kimono and obi but each one was tied in a different design.
![Here is my obi in the tying stage. you can see the string that is through the bow very clearly here. [from M's fb]](http://www.kileygoyette.com/wp-content/uploads/2014/12/1476072_2709754463064_6294293641216413531_n.jpg)
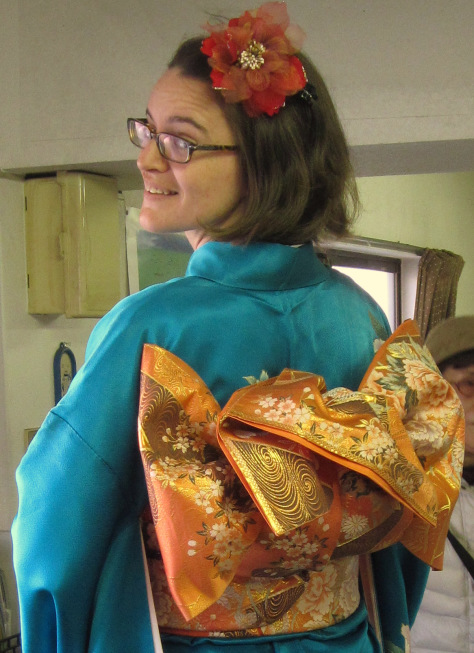
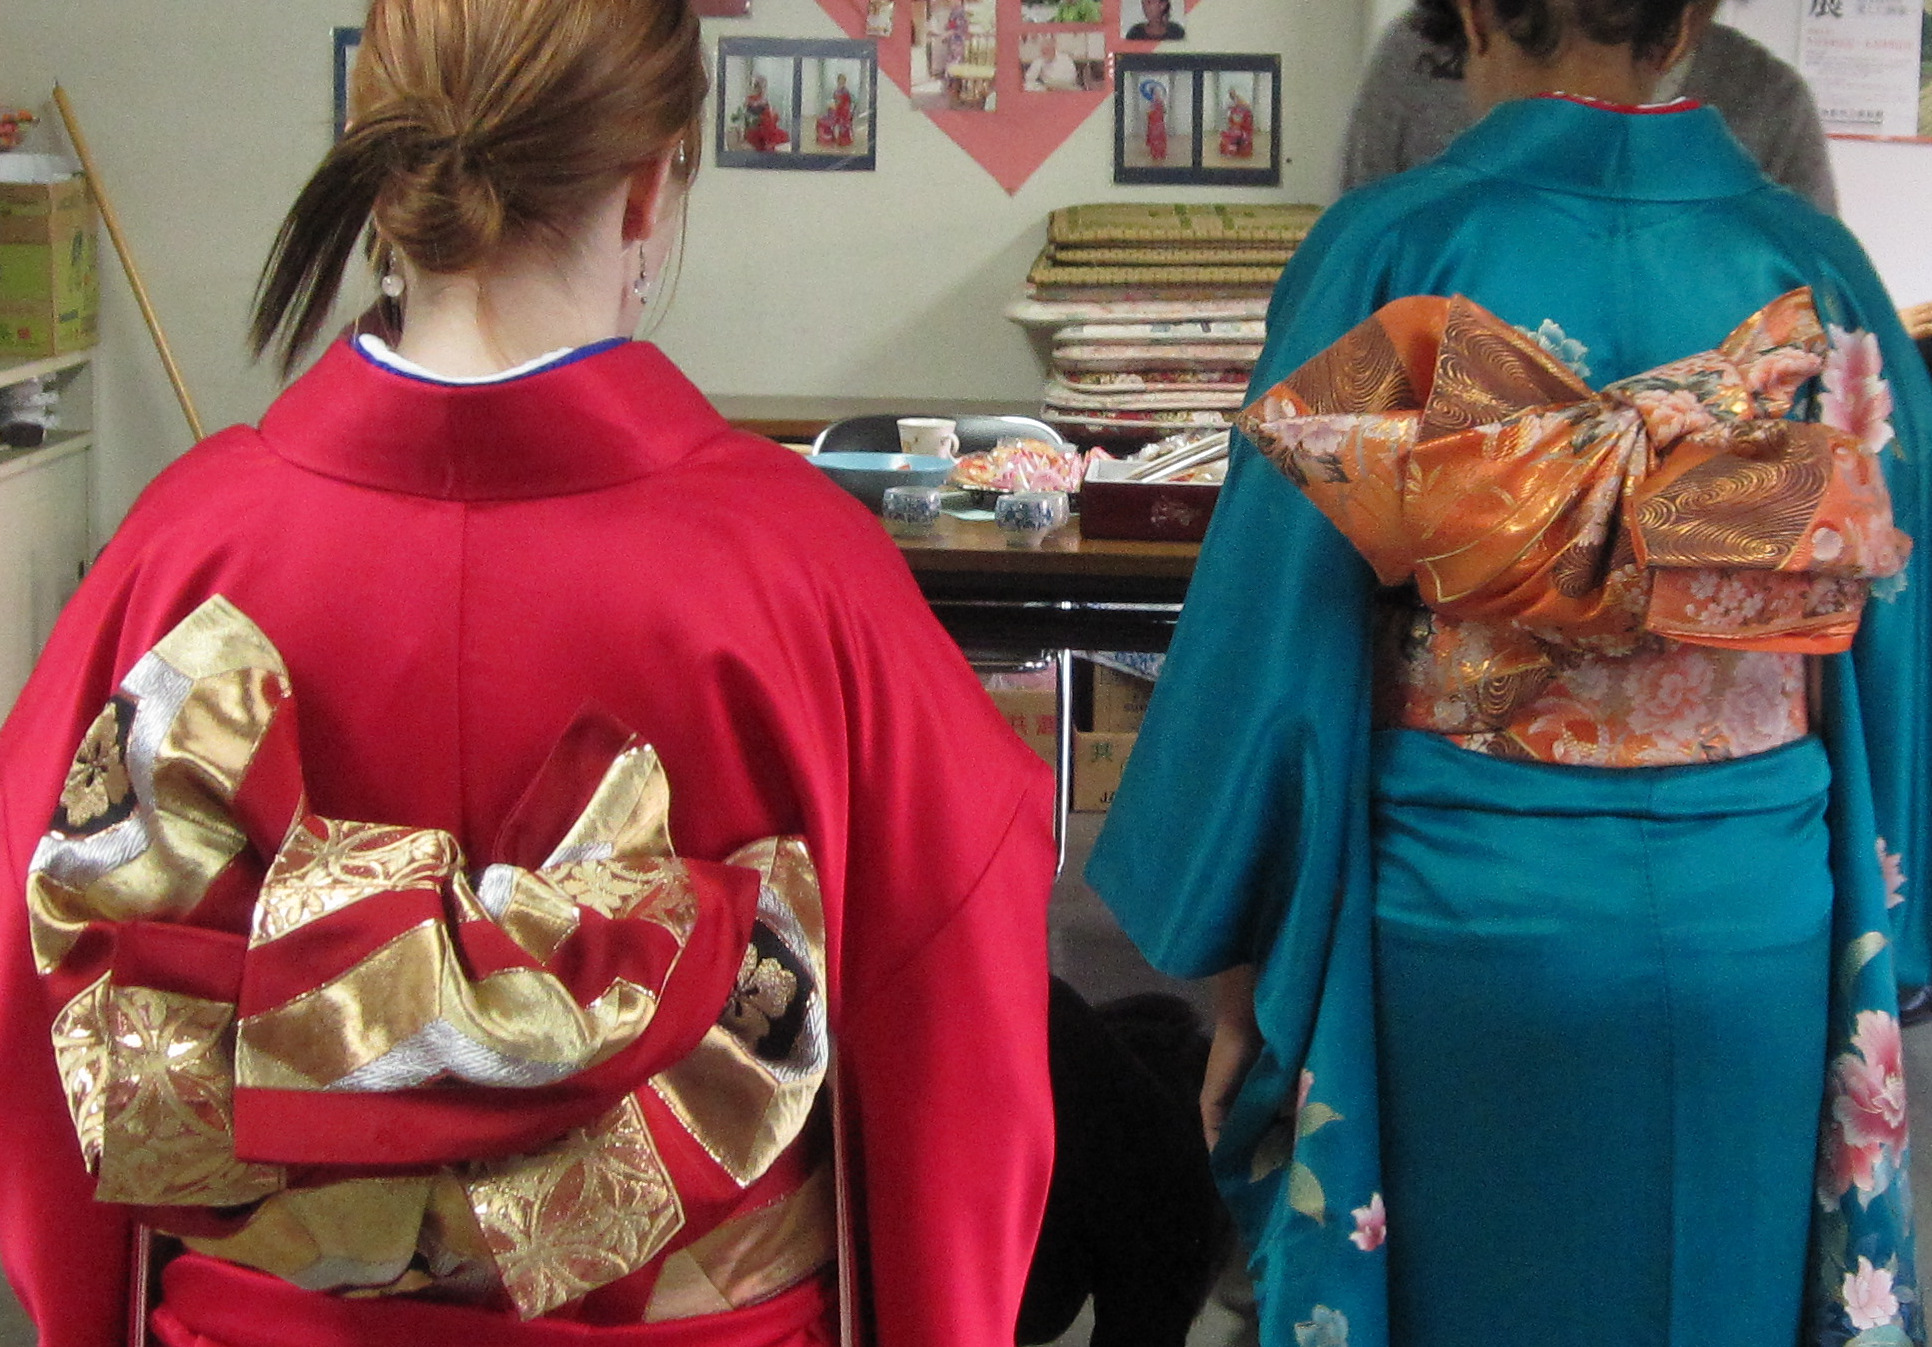
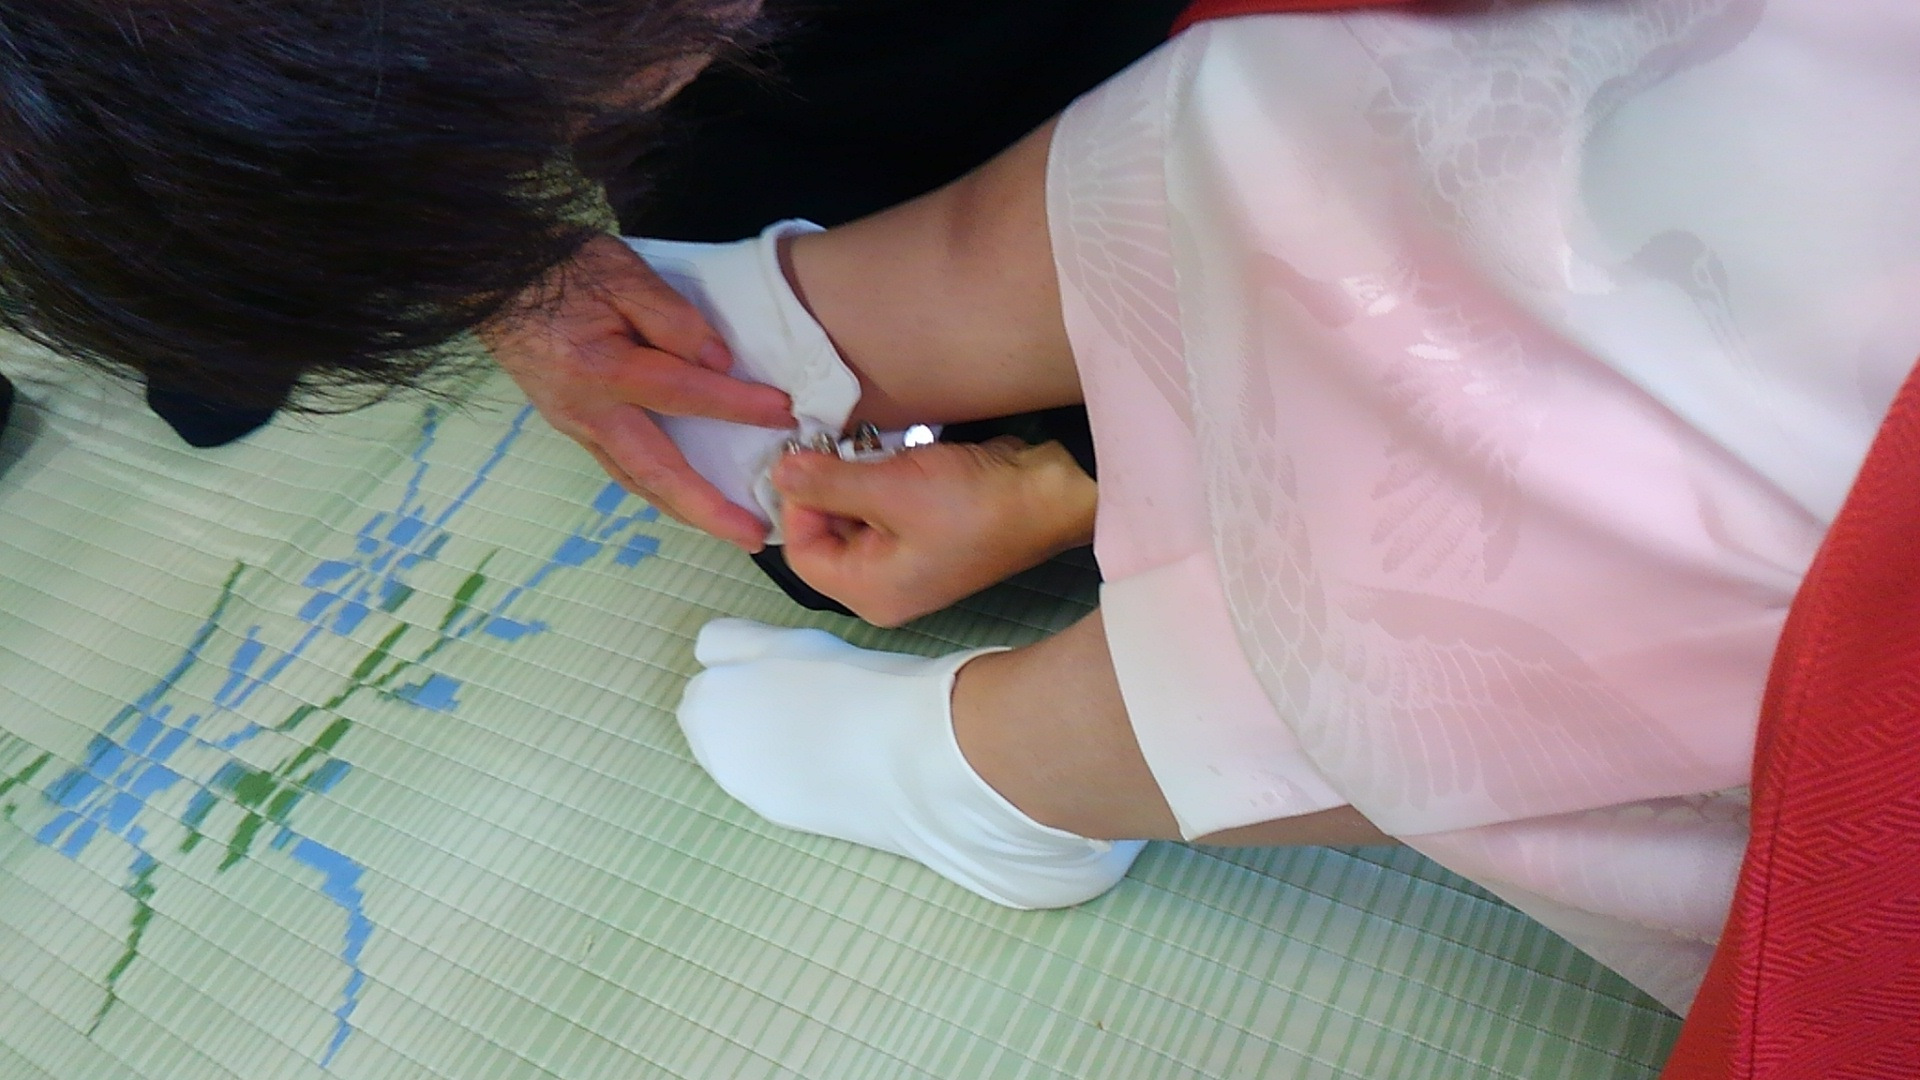
Wearing the obi feels like you are wearing armour. I’m pretty sure my abdomen would be safe from arrow shots while wearing it. But it’s also very difficult to bend. I should have put my tabi socks on before getting my obi done, but they were being worn by someone else. So once they were free I needed people to help put on my socks too!!
In the end, it all folds up into a flat rectangle.

You look so pretty! I love the blue orange combo
Thanks! The colours were really amazing!
They look very beautiful. Clark brought me one from Japan when he visited there a few years ago. It is too long so now I know how to handle that. I didn’t get an obi so maybe I can make one to improvise. love
Grandma
Grandma : I’m glad you are able to read the blog now! I’m sure you could make something since obi are just big long rectangles. It just might be hard to tie on your own.
If you scroll on this page there is a picture of a “pre-tied” obi, which just uses strings to tie and then you attach the bow separately. http://www.thekimonolady.com/2010/02/kimono-secret-arsenal-tsukuri-obi.html
Because you are crafty I’m sure you could figure out sometime similar. Another idea is a wide wrap around belt, perhaps something like this: http://mightygoods.com/archives/2011/03/obi-belt
I did get an obi at a “resaikuru shoppu” (Recycle shop/consignment store) when I was in Yokohama but have never used it. It’s a nice piece of silk so could be easily turned into a table cloth for a narrow table or fireplace mantle or something.
Nice to find out you have a blog.
This kind of reminds me of the headdresses worn at special occasions in some West African communities. When I got mine done in May, it was also quite the process, except once this is done, it is done for good, so I had to leave mine with my partner when I returned to Canada. Probably for the better. There are more chances I’ll have a use for it there than here anyways.